Script Editor #
ETL data_snake allows advanced users to write custom scripts for data Extracting,
Transformations and Loading. Only the User with the predef_target_management and
predef_source_management Permission
can create scripts for Extracting and Loading data, but Users who can edit
Modifiers also have access to the Script Editor in the form of the
Script Transformation. The script
editor allows for advanced operations in the Source Node which might expedite the
Workflow execution. Apart from using the Script Editor in the
Modeler, you can create a
Script Modifier to run a custom script that does not need
any data source or target.
The scenario in this example will be the same as in the Data Union Guide but will join data from 36 files.
- As a User with the
predef_source_managementPermission, prepare a Predefined Script Source which accesses a folder with files and merges them into one file. Below is an example script:
# Essential imports
import pandas as pd
from pathlib import Path  # import for easy file management

# Specify a path where the Excel files are located
FILE_FOLDER = Path('/path/to/a/folder/with/excel/files/')

# Create a dataframe
dataframe = pd.DataFrame(
    columns=[
        'hs_code', 'item_en', 'port', 'country_en',
        'weight_kg', 'value_qr',
        'month', 'quarter', 'year', 'trade_flow'
    ],
    dtype=str
)
dataframe['value_qr'] = pd.to_numeric(dataframe['value_qr'])
dataframe['weight_kg'] = pd.to_numeric(dataframe['weight_kg'])

# Open every file and insert into the dataframe
for xlsxfile in FILE_FOLDER.rglob('*.xlsx'):
  with pd.ExcelFile(xlsxfile) as excelfile:
    df = pd.read_excel(
      excelfile,
      dtype=str,
      header=1,
      usecols='B:K',
      names=[
        'hs_code', 'item_en', 'port', 'country_en',
        'weight_kg', 'value_qr',
        'month', 'quarter', 'year', 'trade_flow'
      ]
    )
    df['value_qr'] = pd.to_numeric(df['value_qr'])
    df['weight_kg'] = pd.to_numeric(df['weight_kg'])
    dataframe = pd.concat([dataframe, df], ignore_index=True, join='inner')

# Remember to always set the OUTPUT_DATA variable
OUTPUT_DATA = dataframe
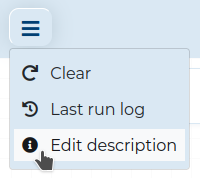
Optionally, you can add a description to your Workflow by clicking the
button and selecting Edit description.
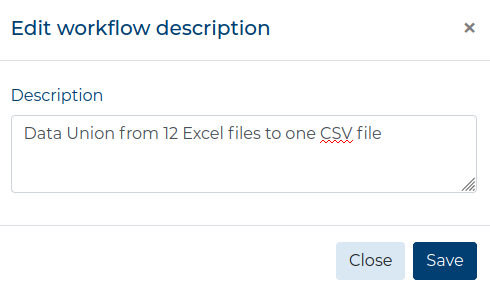
In a new window, simply add the description in the field and click the Save button.
- Drag the Source Component to the Workspace and select the desired source from the list. Remember to configure the Source Node.
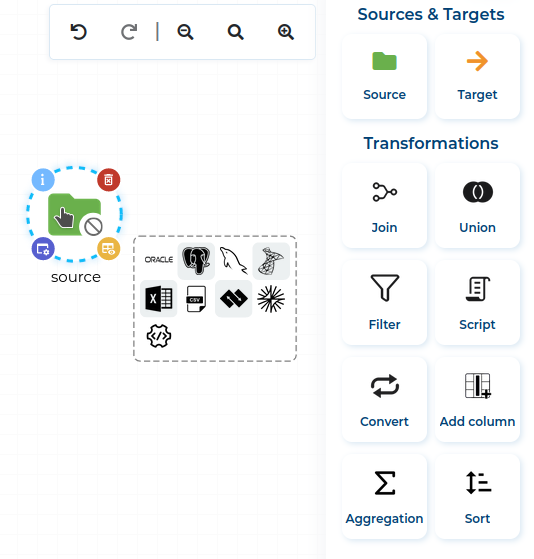
- Drag the Target Component to the Workspace and select the desired target from the list. Remember to configure the Target Node.
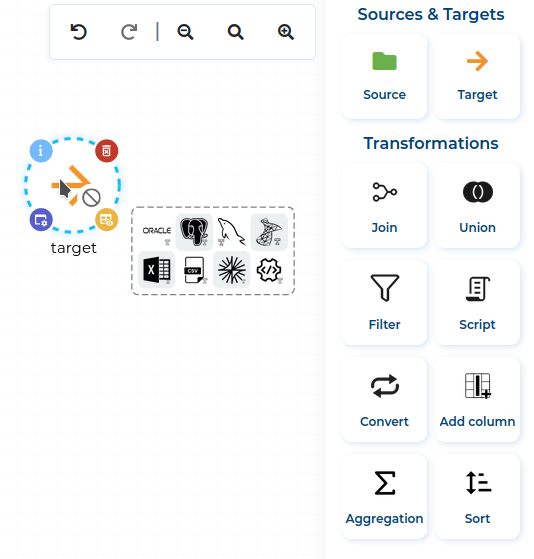
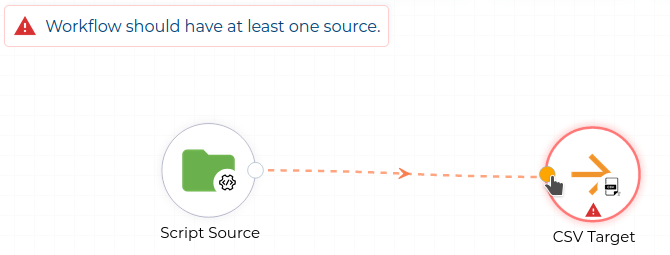
- After configuring the Target Component, connect the Source Node with it.
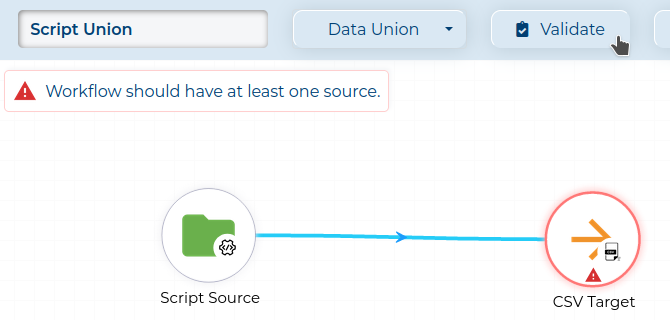
- Validate the finished Workflow by clicking the Validate button.
- If there are no validation errors, click the Save button (marked red) and then close the Modeler, by clicking the Exit button (circled red) icon.
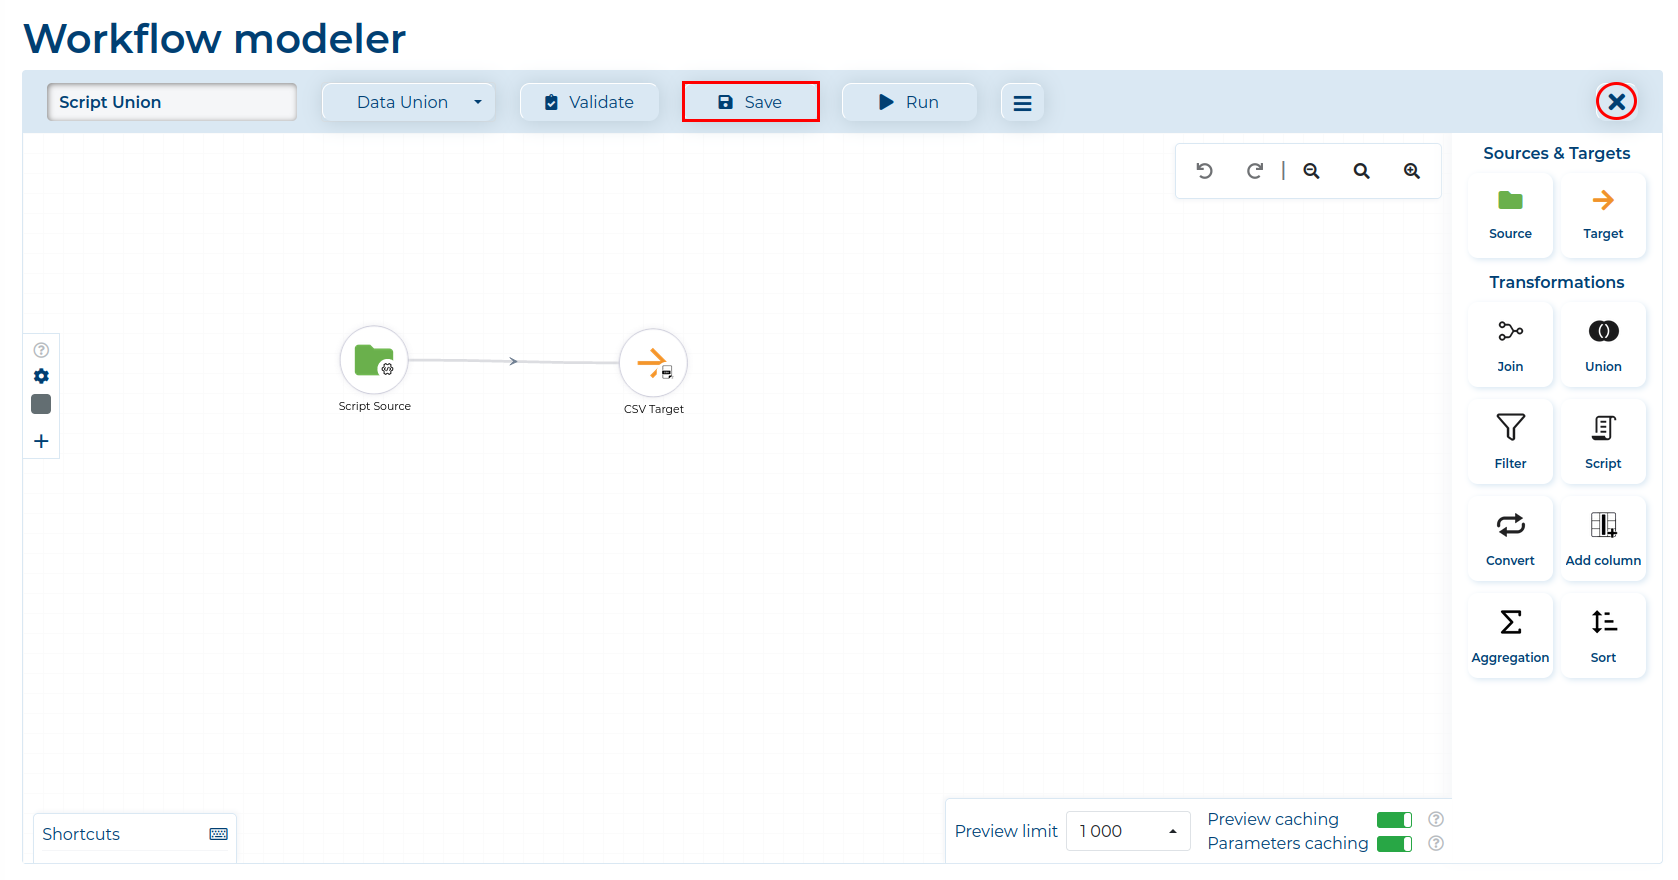
Compare this Workflow with the one in the Data Union Guide
