How to Install #
To install ETL data_snake, follow these steps:
-
Visit the The Official data_snake Docker Page.
-
Create a folder where you will have the
docker-compose.ymlfile.
mkdir data_snake
- Navigate to the folder.
cd data_snake
-
Create a file called
docker-compose.ymlusing your favourite text editor. -
Copy the following example into the
docker-compose.ymlfile
version: "3.5"

services:

    redis:
        image: redis:6.0.5-alpine
        volumes:
            - data_snake_redis:/data

    postgres:
        image: postgres:12-alpine
        restart: always
        environment: &pgenv
            POSTGRES_DB: "data_snake"
            POSTGRES_USER: "data_snake"
            POSTGRES_PASSWORD: "data_snake"
        volumes:
            - data_snake_postgresql:/var/lib/postgresql/data

    # Web application for ETL data_snake using gunicorn
    etl-app: &etl-app
        image: mgaltd/data_snake:latest
        restart: always
        depends_on:
            - postgres
            - redis
        volumes:
            - data_snake_media:/opt/etl/media
            - data_snake_static:/opt/etl/static
            - data_snake_logs:/opt/etl/logs
            - data_snake_files:/opt/etl/files
            - data_snake_cache:/opt/etl/cache
        hostname: example.domain.com
        environment: &djenv
            <<: *pgenv
            POSTGRES_HOST: "postgres"
            POSTGRES_PORT: 5432
            REDIS_HOST: "redis"
            REDIS_PORT: 6379
            REDIS_DB: 0
            ETL_SECRET_KEY: "__this__must__be__change__on__production__server__"
            ETL_DEBUG: "False"  #  !!! This must be string
            # This is the address used for sharing and process api token;
            # when using proxy this is the public address (e.g. mga.com.pl)
            ETL_EXTERNAL_URL: "example.domain.com"

        command: gunicorn

    # Service etl application only for websockets connections (ASGI)
    etl-app-asgi:
        <<: *etl-app
        environment:
            <<: *djenv
            # Websockets connections have low memory requirements. Do not limit them
            ETL_MEMORY_AVAILABLE_LIMIT: '0'
        command: uvicorn

    # Service runs celery
    service-celery: &celery
        <<: *etl-app
        command: celery

    # Service runs processes celery
    service-processes-celery:
        <<: *celery
        command: processes_celery

    # Service runs system monitor celery
    service-system-monitor-celery:
        <<: *celery
        command: system_monitor_celery

    # Service runs beat celery
    service-beat-celery:
        <<: *celery
        command: beat_celery

    # That service starts only once, do collectstatic, migrate and dies
    etl-set-state:
        <<: *etl-app
        restart: "no"
        depends_on:
            - etl-app
        command: set_state

    etl-nginx:
        image: mgaltd/data_snake_webserver:latest
        depends_on:
            - etl-app
            - etl-set-state
        volumes:
            - data_snake_media/:/opt/etl/media
            - data_snake_static/:/opt/etl/static
            # - data_snake_ssl/certificate.pem:/opdata_snake/ssl/certificate.pem
            # - data_snake_ssl/key.pem:/opt/etl/ssl/key.pem
        ports:
            - 80:80
            - 443:443

volumes:
    data_snake_media:
    data_snake_static:
    data_snake_logs:
    data_snake_files:
    data_snake_cache:
    data_snake_ssl:
    data_snake_postgresql:
    data_snake_redis:
-
Save the file.
-
Run the following command to start ETL data_snake. If you do not want to see the application output, add
-dat the end of the command.
docker-compose up
- If there are no errors then ETL data_snake is running. Visit https://127.0.0.1 to start working.
The first launch of the application may take up to several minutes.
To function properly, the application requires uploading a license key
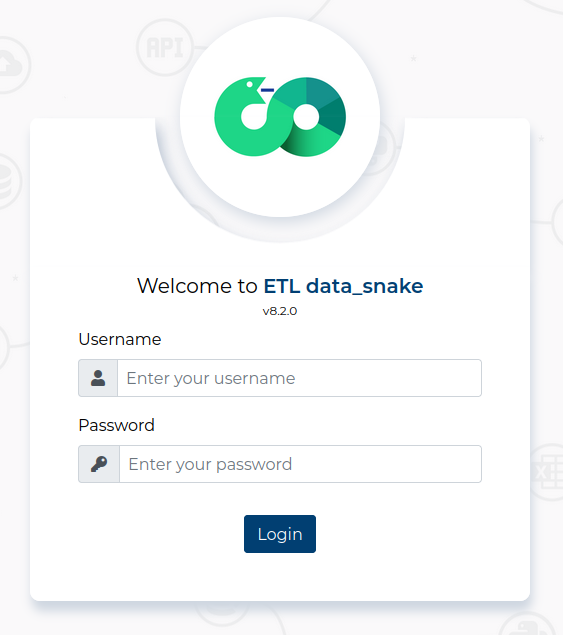
- When you open ETL data_snake, you will be greeted by the login screen. Simply log in using the default credentials:
- Username:
admin- Password:
admin

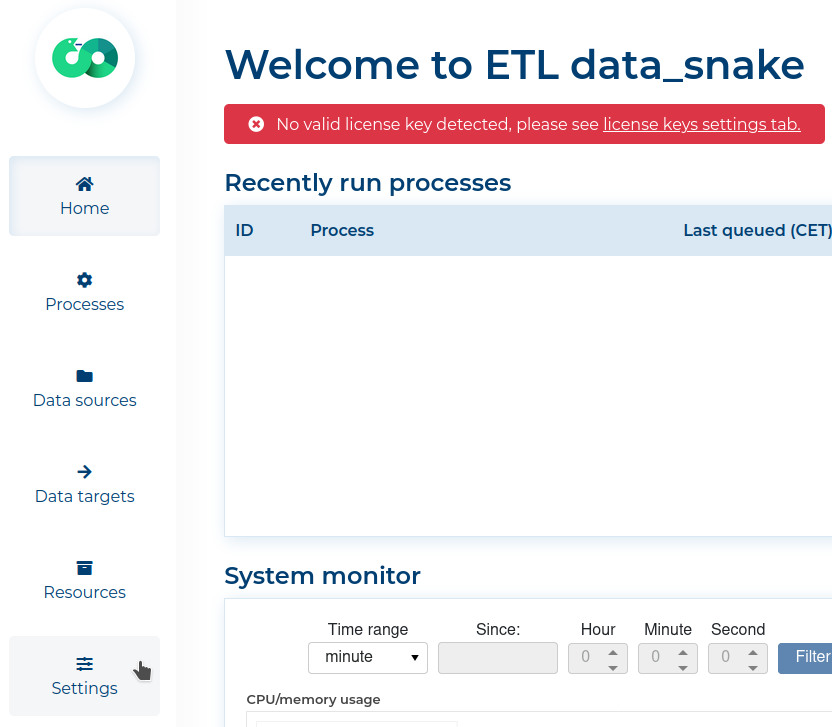
- To work with the application, you need a valid License Key. On the Home Page click the Settings button.

- In the License keys tab, click the + Add a license key button.

- Enter your acquired License Key

When ETL data_snake finishes the installation process, go to the After Install section for further details about basic configuration.