Filter Data #
You may want to filter the Extracted data to fit your needs. You can do this using the Filter Transformation. Additionally, database sources allow you to Extract data using a SQL query to filter data. Furthermore, the Fusion Registry 10 source allows to filter data on Extraction using Dataflow filters and Start/End time period.
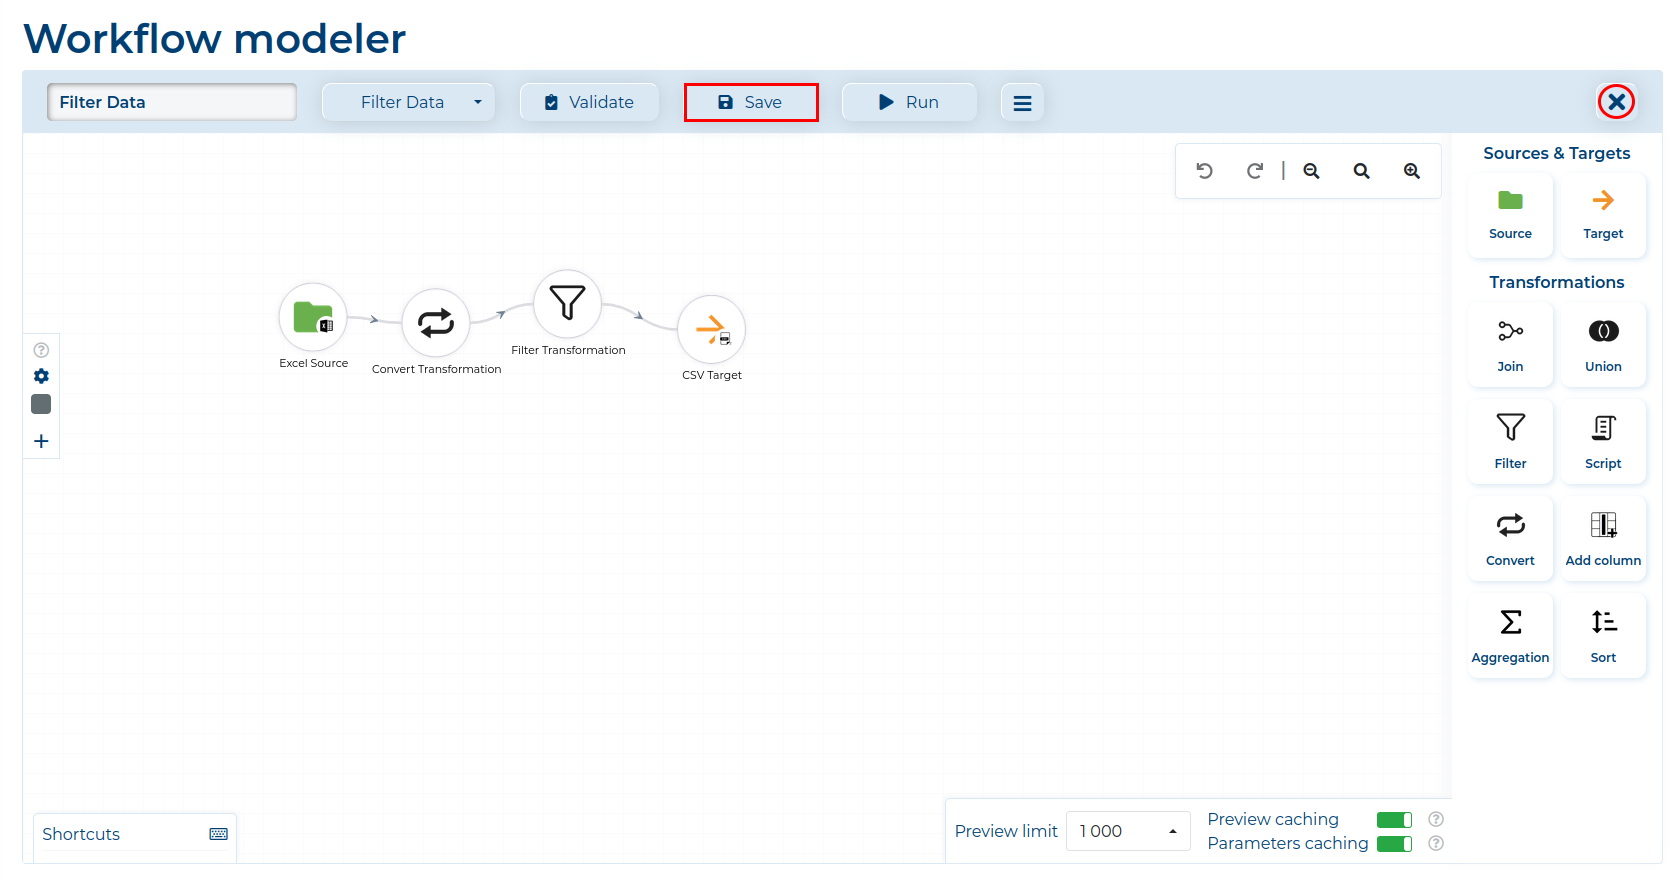
In this example, we will Extract data from an Excel file, filter the data and transfer it to a CSV file. Before beginning the work, make sure that there are Predefined sources and targets present in ETL data_snake.
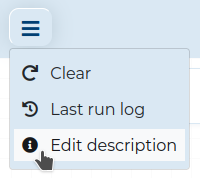
Optionally, you can add a description to your Workflow by clicking the
button and selecting Edit description.
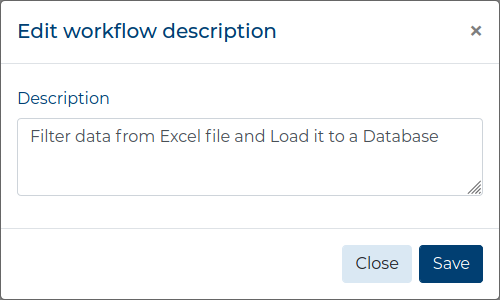
In a new window, simply add the description in the field and click the Save button.
- Drag the Source Component to the Workspace and select the desired source from the list. Remember to configure the Source Node.
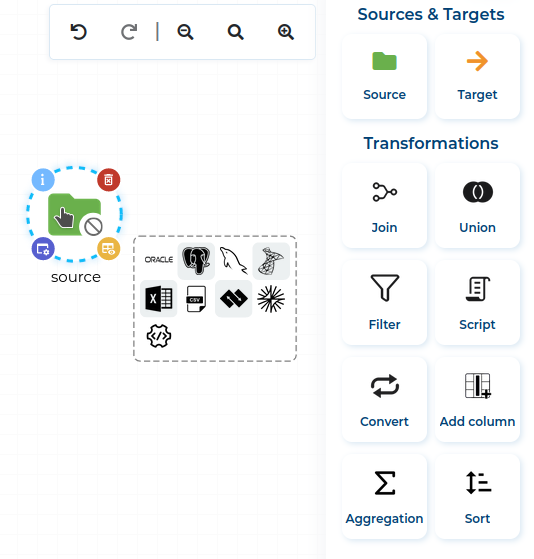
- Because all columns in data Extracted from the
Excel Source will be of
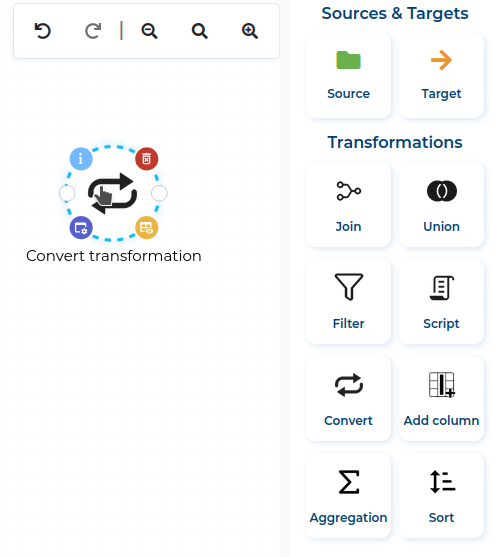
Stringtype, first you need to Convert some column data to correct types. Therefore, drag the Convert Transformation to the Workspace and connect it with the Source Node.
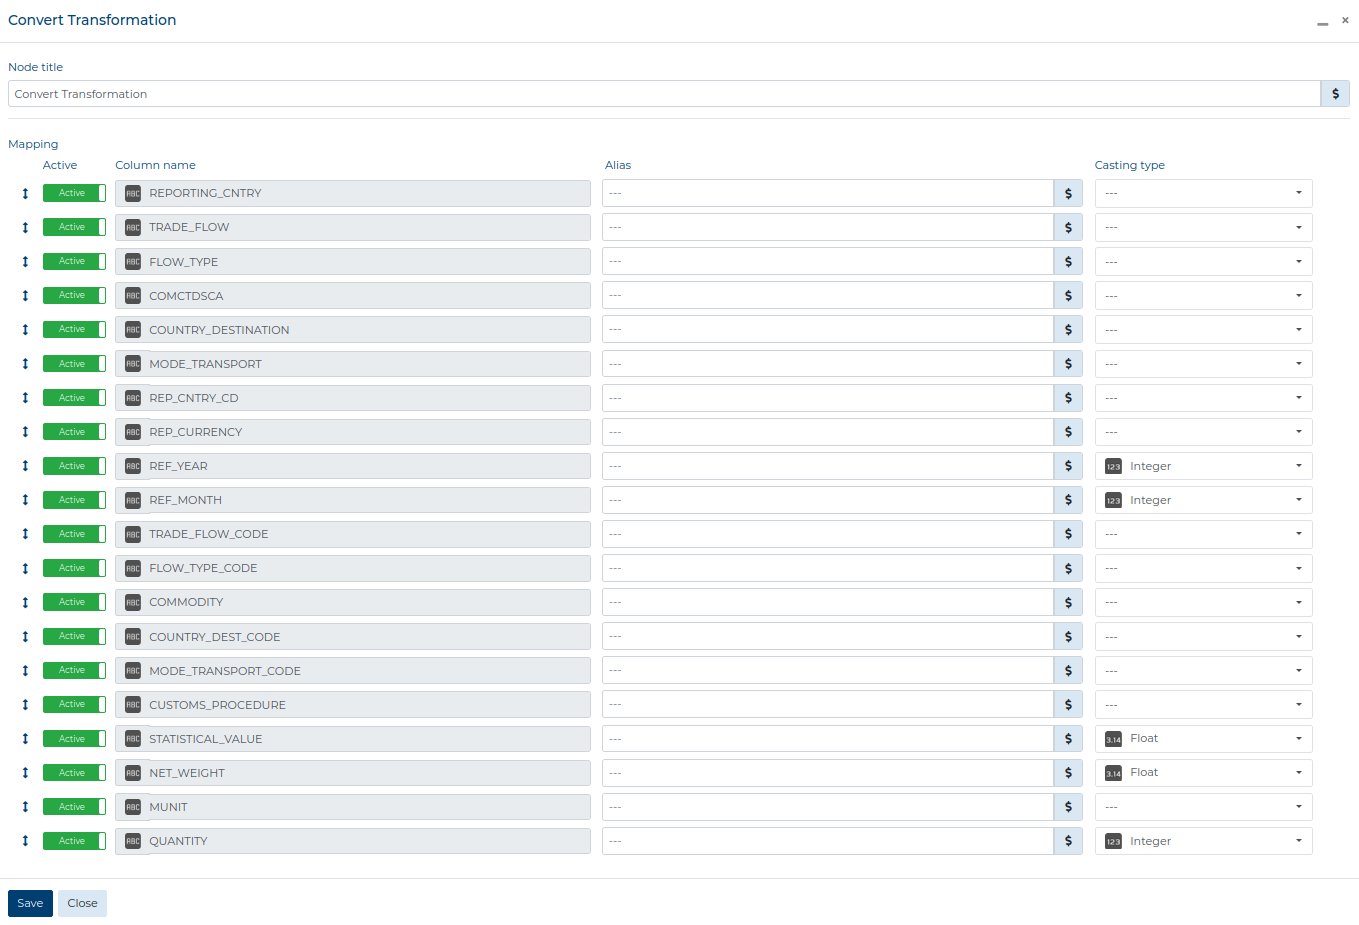
- Configure the Convert Node and cast columns to desired values.
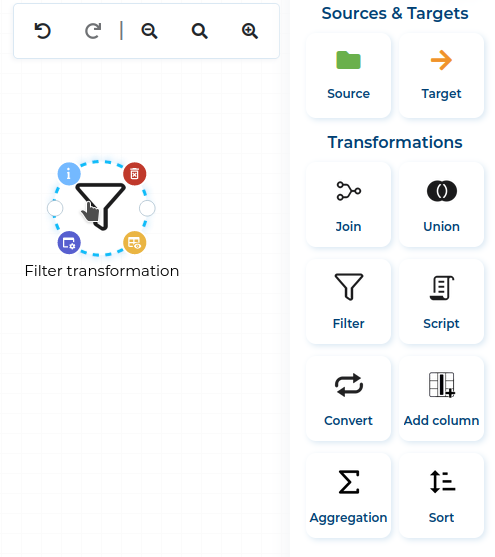
- Drag the Filter Transformation to the Workspace and connect it with the Convert Node.
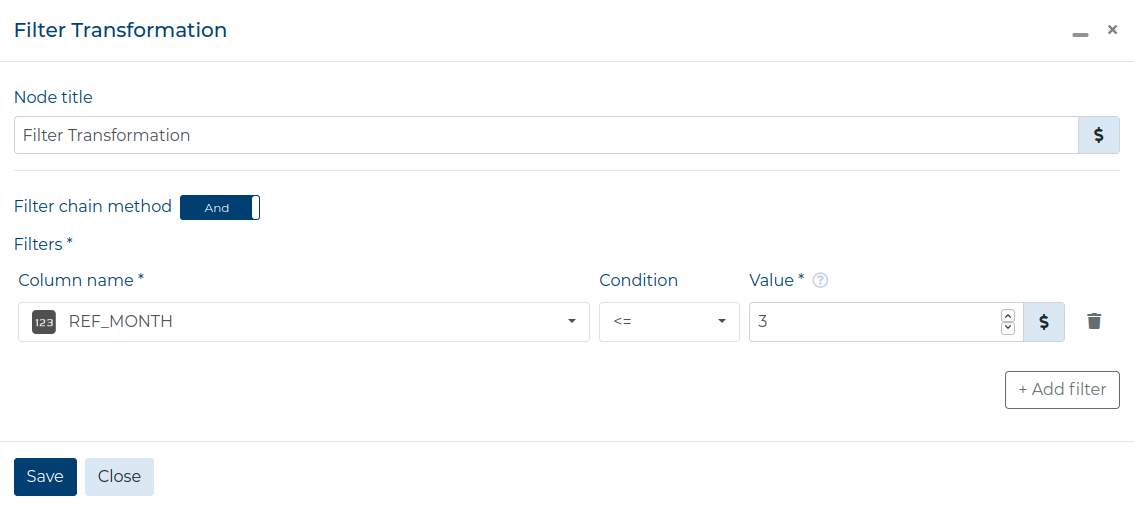
In this example, the Excel file has data for each month of the year 2017 and we only want data
from the first quarter.
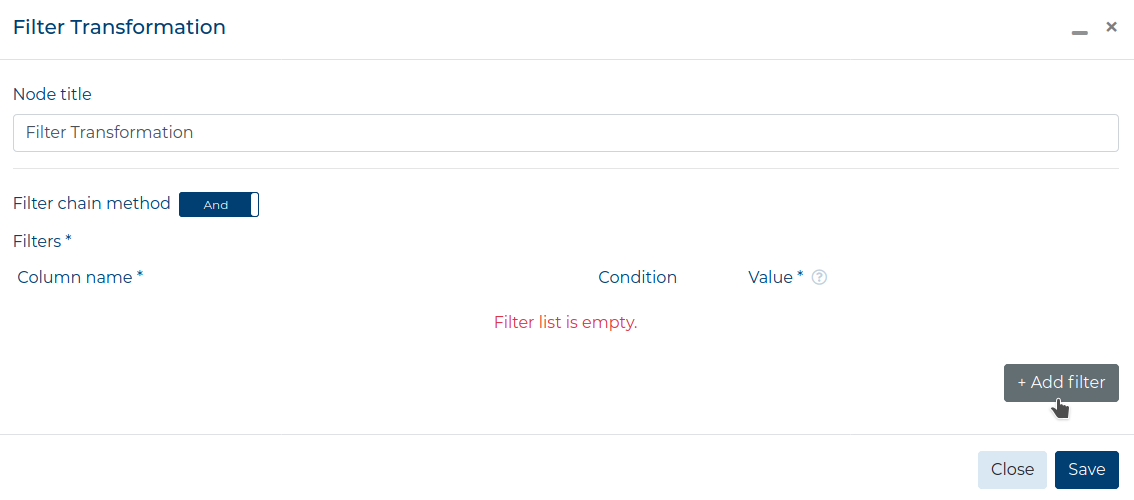
- In the Configuration window of the Filter Transformation click the Add filter button.
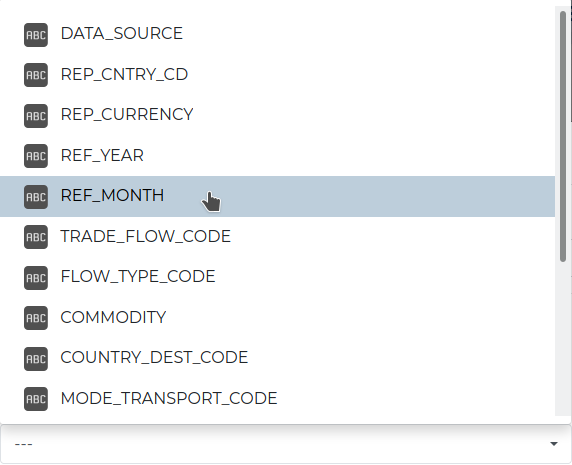
- Select the desired column.
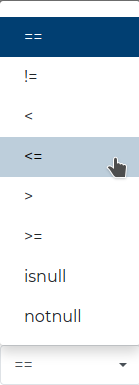
- Select the condition for the filter.
- Fill out the desired value.
- Drag the Target Component to the Workspace and select the desired target from the list. Remember to configure the Target Node.
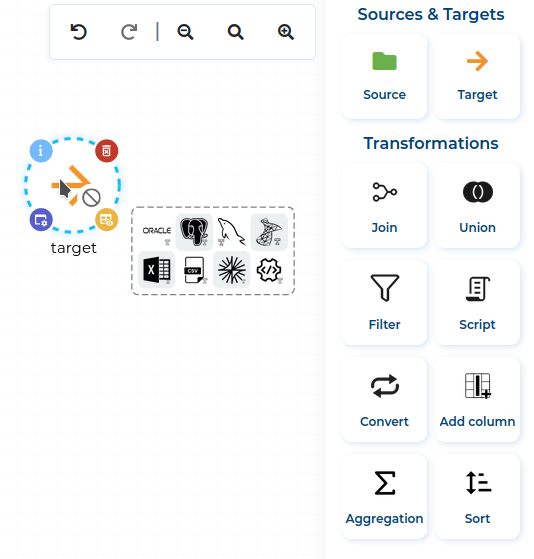
- After configuring the Target Component, connect the Filter Node with it.

- Validate the finished Workflow by clicking the Validate button.
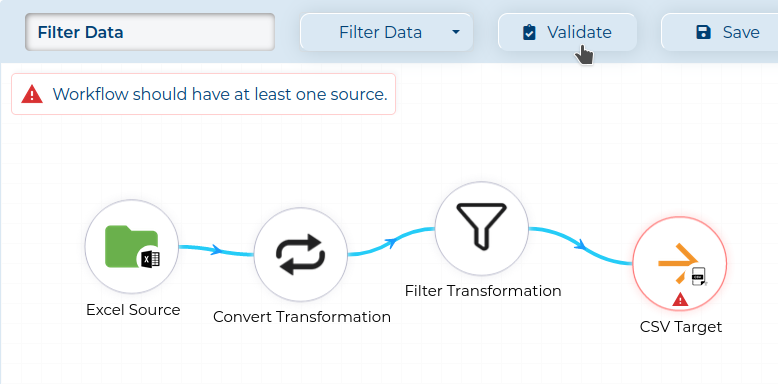
- If there are no validation errors, click the Save button (marked red) and then close the Modeler, by clicking the Exit button (circled red) icon.
