Data Union #
The Union Transformation is used to merge data from different inputs into one data table. It is useful in situations when there are many files that we want to Load into one target. Union Transformation allows you to Extract data from many sources and then Load everything as a single input. Remember that all the columns used as inputs in the union must have matching names and data types.
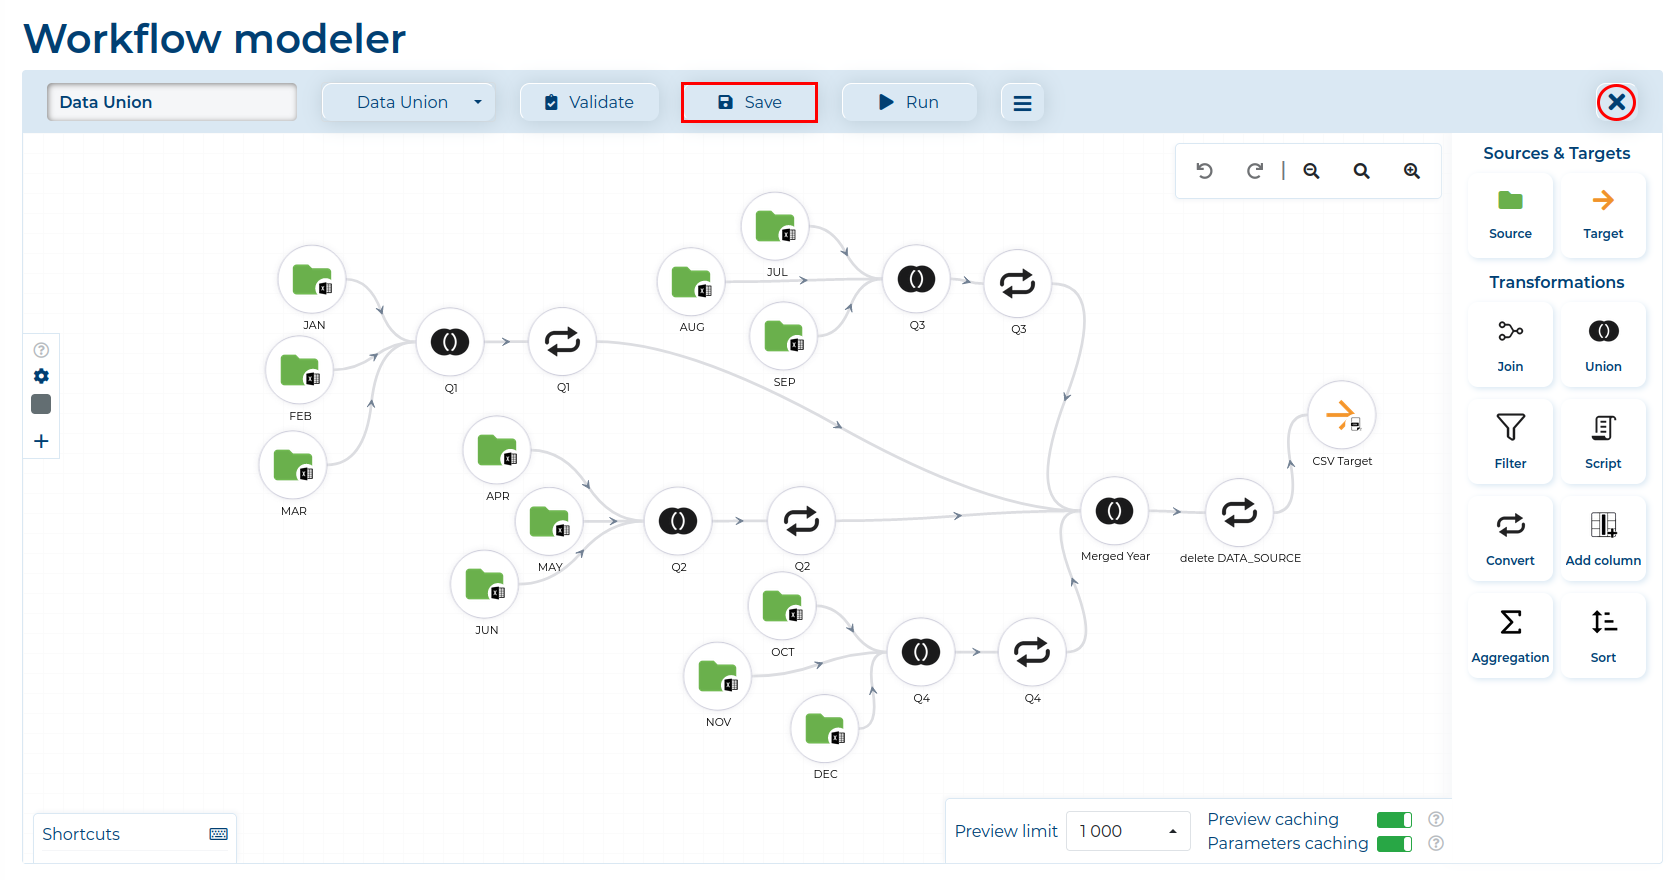
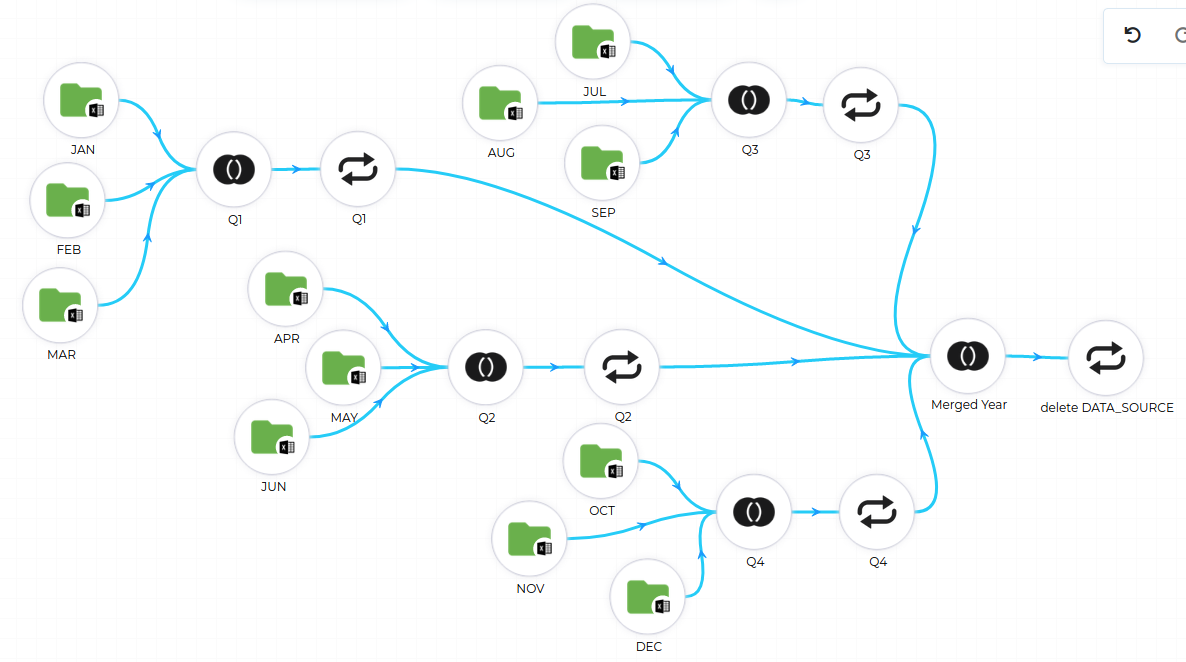
In this example, we have monthly data in 12 Excel files and we want to create a single file CSV file.
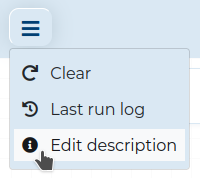
Optionally, you can add a description to your Workflow by clicking the
button and selecting Edit description.
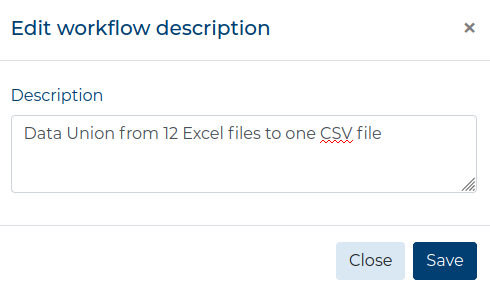
In a new window, simply add the description in the field and click the Save button.
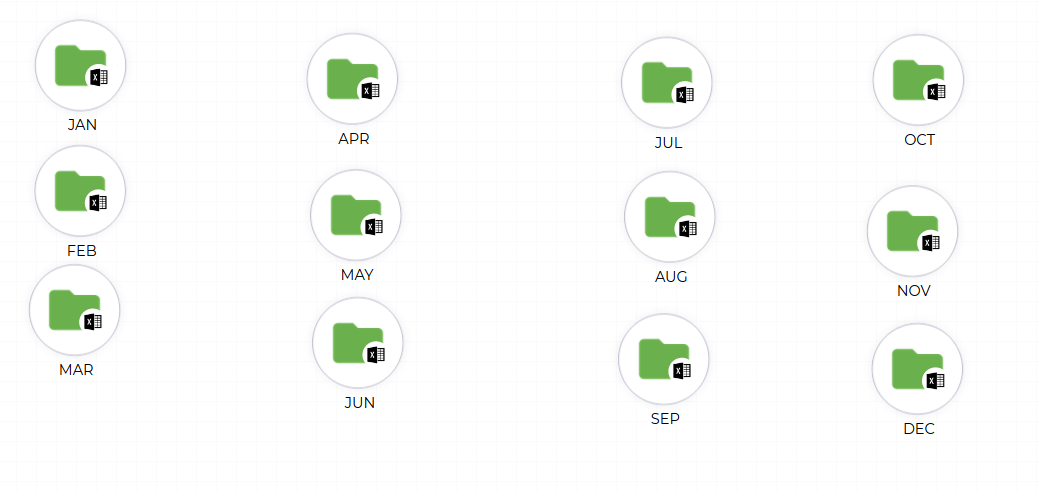
- Drag all the Source Components to the Workspace and select the desired source from the list. Remember to configure all the Source Nodes. To make the Workflow reusable, organize the sources into quarters.
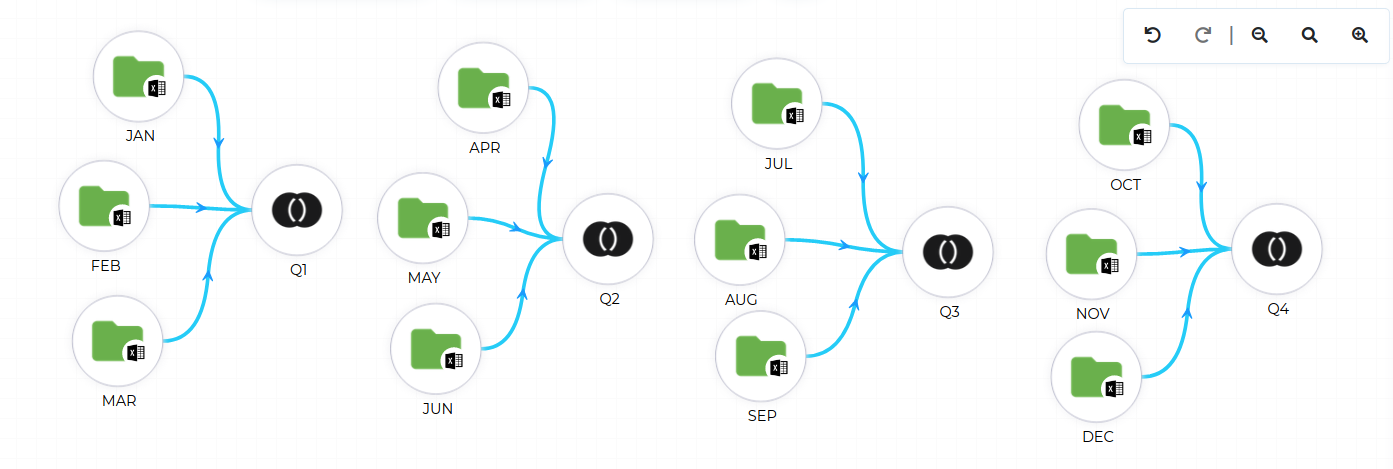
- Drag four Union Transformations to the Workspace and connect three Source Nodes to each Union Node.
Remember that the order of the connected inputs represents the order the data will appear in the merged table.
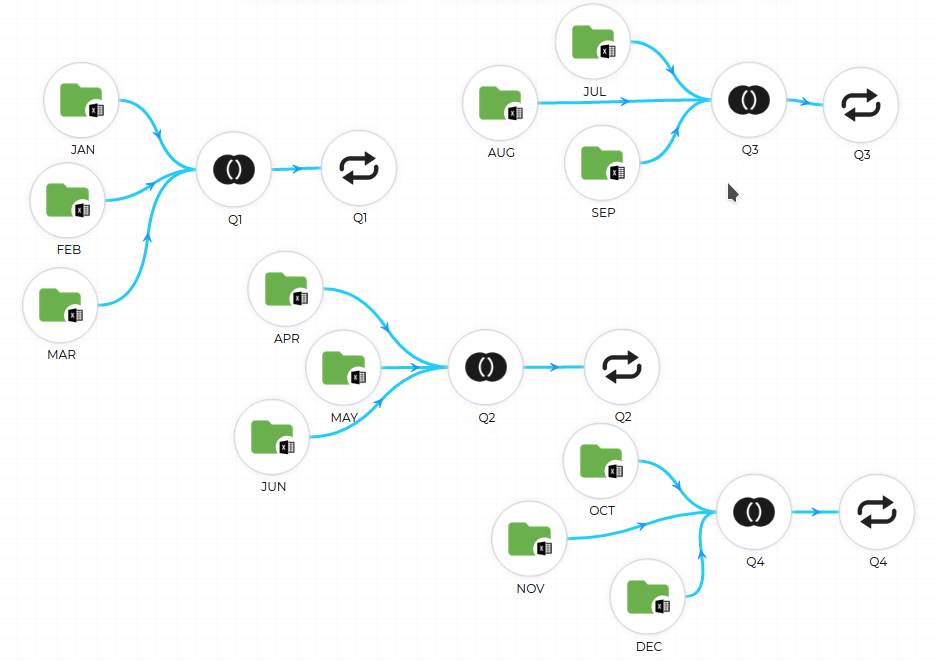
- Because all Union Transformation
add an extra column called
DATA_SOURCE, first you need to delete that column from each Union Node. Drag four Convert Transformations into the Workspace, connect the Union Nodes to them and delete theDATA_SOURCEcolumn in each of them.
- Drag another Union Transformation to the Workspace and connect the Convert Nodes with it.
Remember that the order of the connected inputs represents the order the data will appear in the merged table.
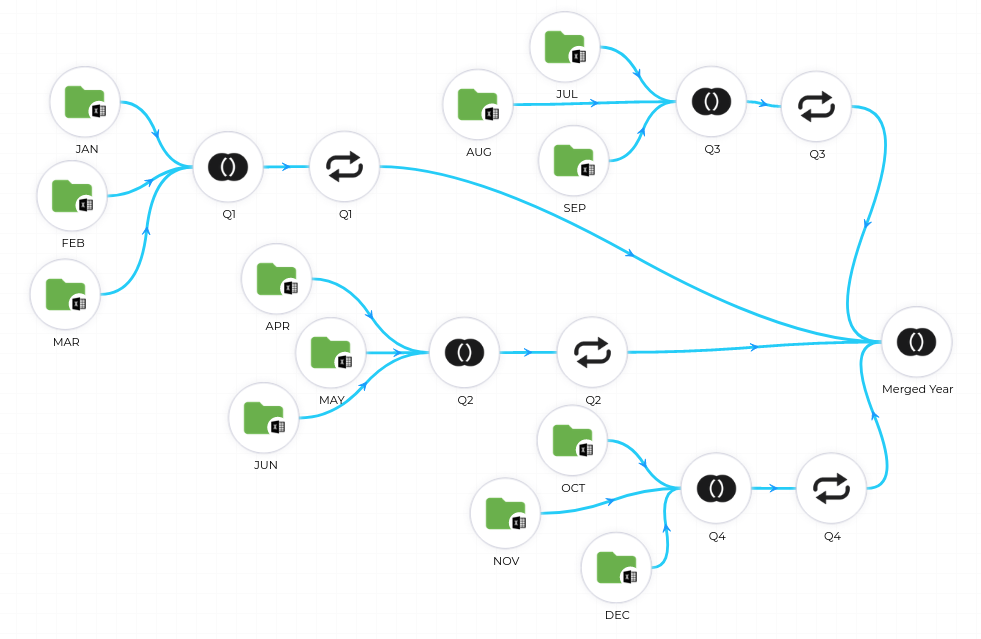
- Delete the
DATA_SOURCEcolumn from the merged data using the Convert Transformations
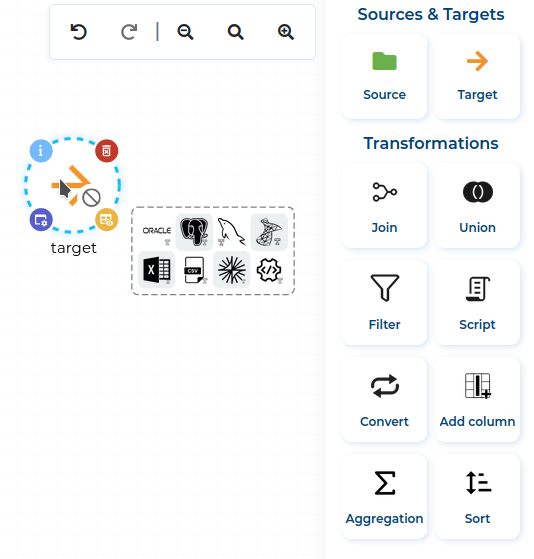
- Drag the Target Component to the Workspace and select the desired target from the list. Remember to configure the Target Node.
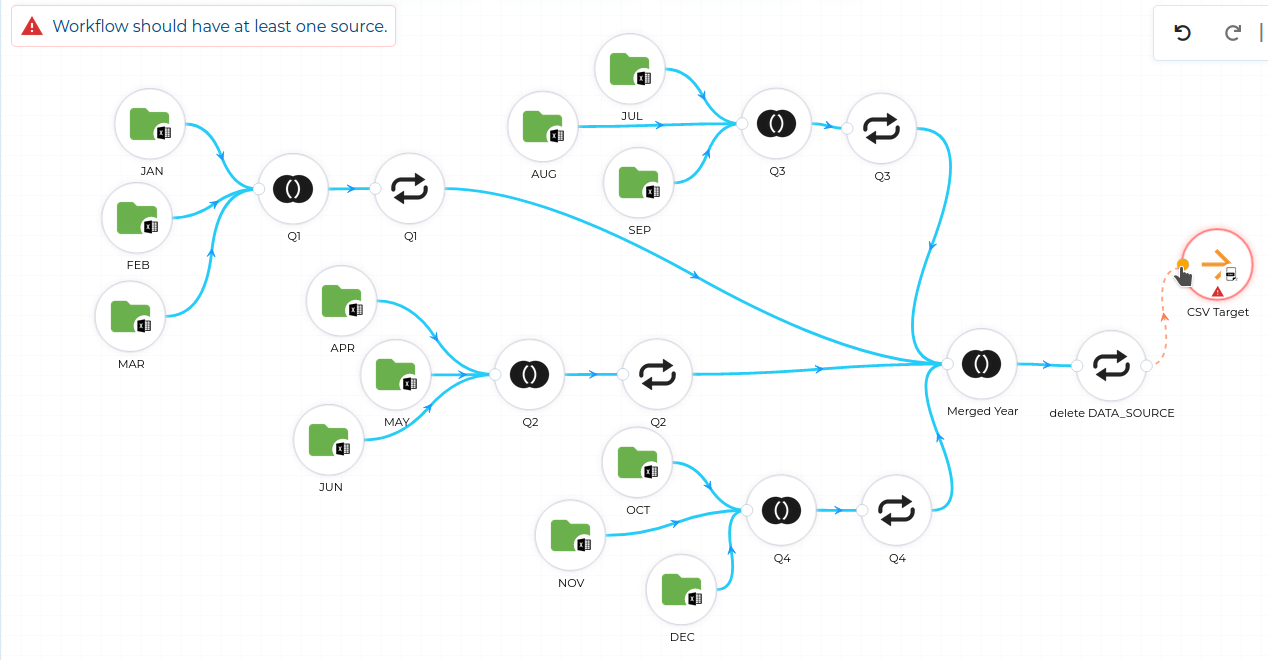
- After configuring the Target Component, connect the Convert Node with it.
- Validate the finished Workflow by clicking the Validate button.
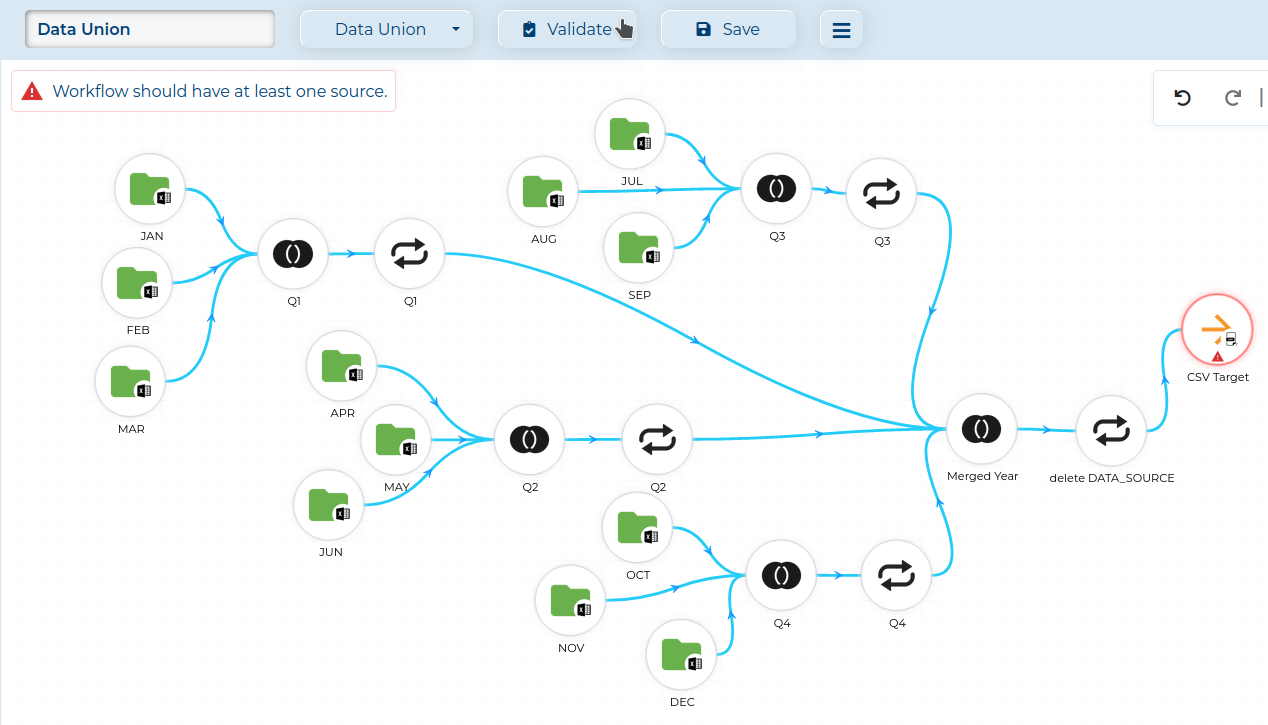
- If there are no validation errors, click the Save button (marked red) and then close the Modeler, by clicking the Exit button (circled red) icon.
