Data Joining #
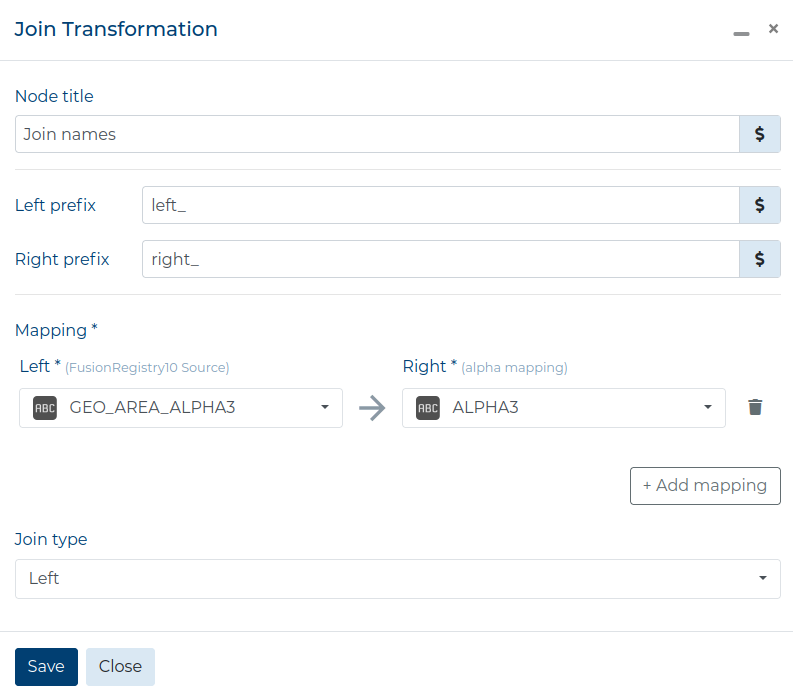
The Join Transformation generates a combination of records based on a related column in two tables. This helps in situations when you need to change some data values to match the target (e.g. the source data has country names in ISO 3166-1 alpha-3 and the target has them in ISO 3166-1 alpha-2).
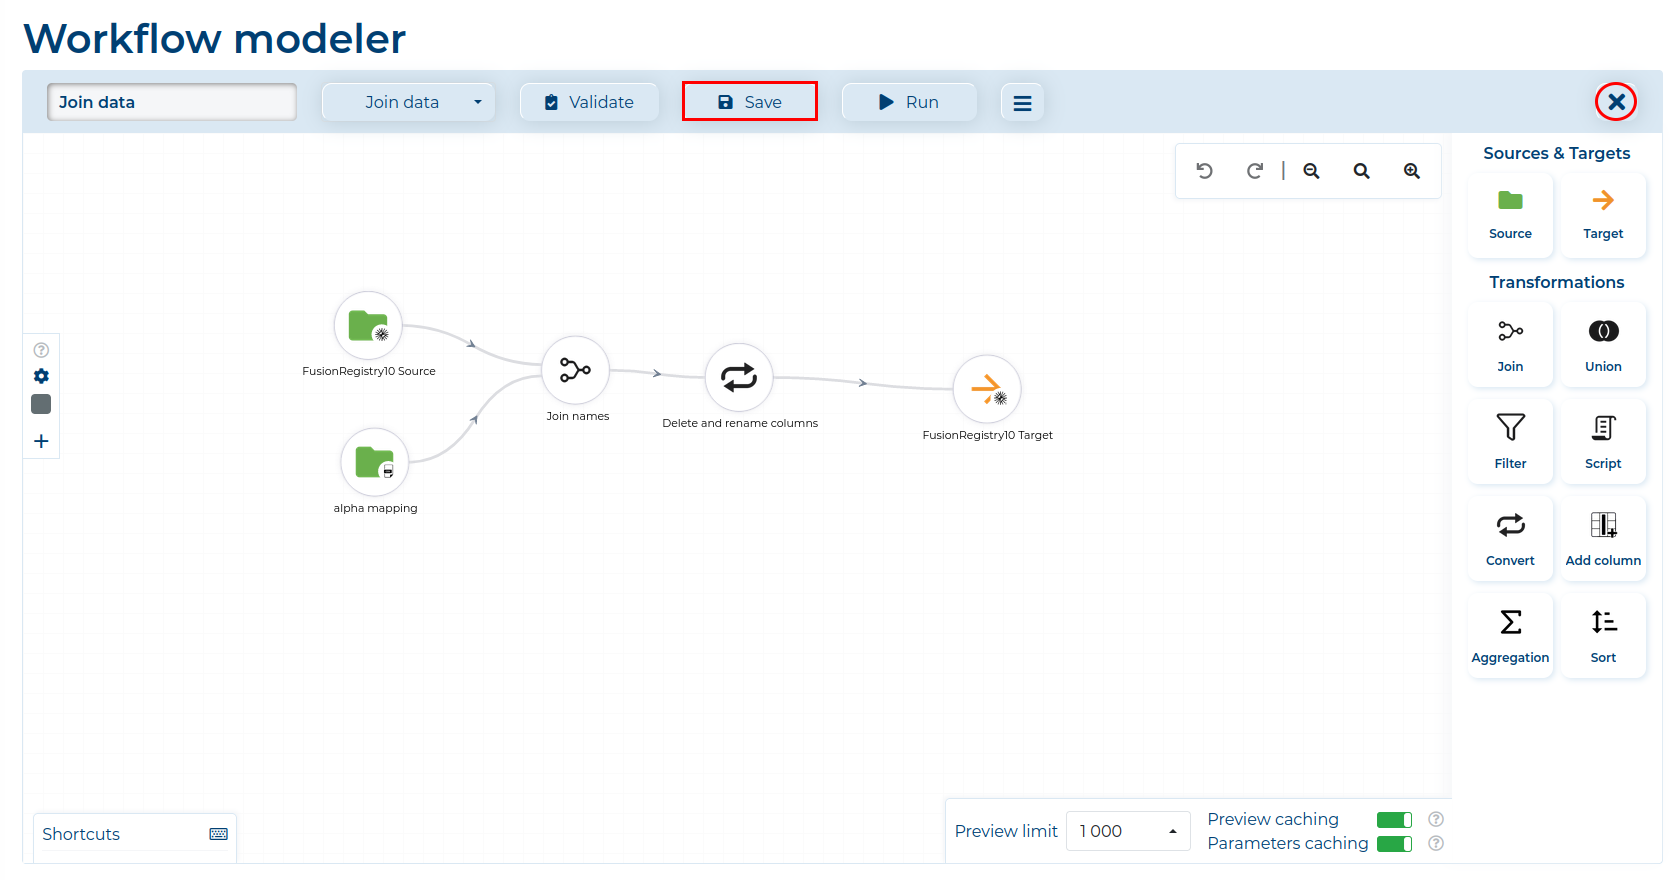
In this example, data from the one Fusion Registry stores country names in ISO 3166-1 alpha-3, however, the target Fusion Registry stores country codes in ISO 3166-1 alpha-2. By using a CSV file with name mappings, we will convert the country names to the desired format.
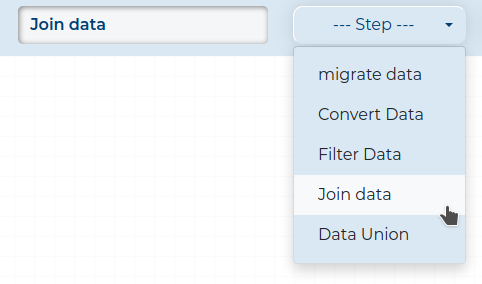
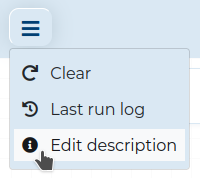
Optionally, you can add a description to your Workflow by clicking the
button and selecting Edit description.
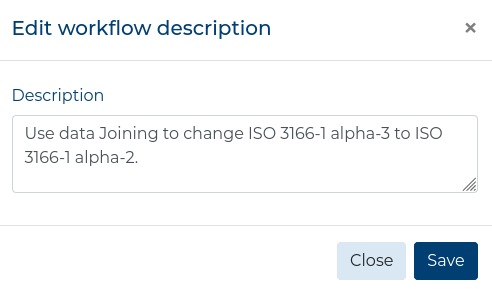
In a new window, simply add the description in the field and click the Save button.
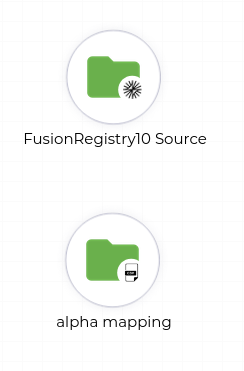
- Drag the Source Components to the Workspace and select the desired sources from the list. Remember to configure the Source Nodes.
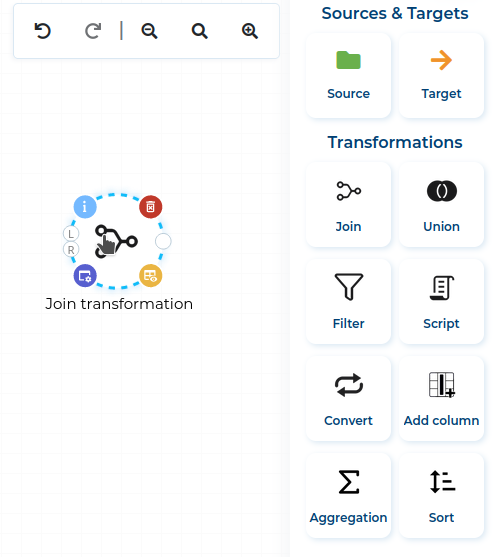
- Drag the Join Transformation to the Workspace and connect the two Source Nodes to it.
- Configure the Join Node to map by the columns with the ISO 3166-1 alpha-3 codes.
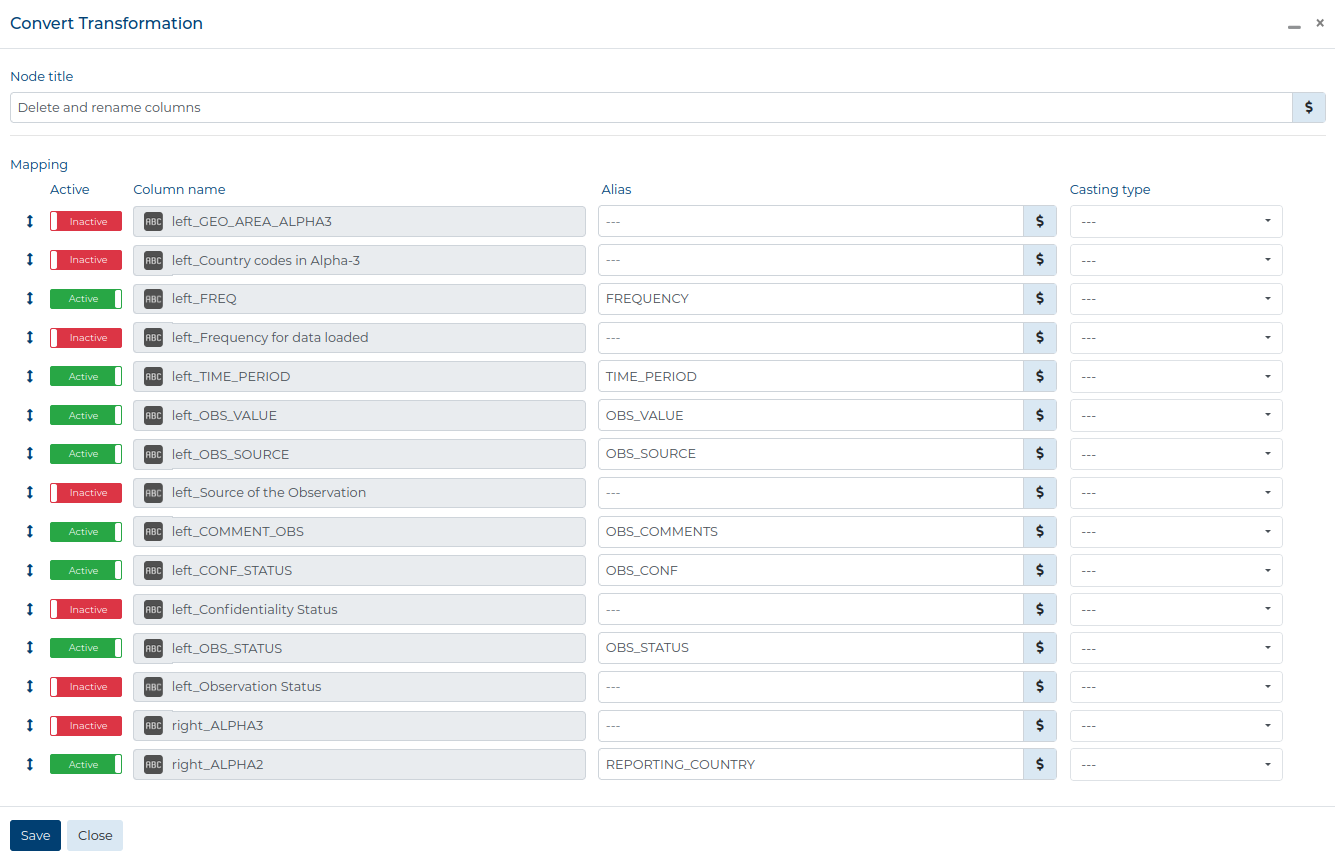
- Prepare the table to Load into the second Fusion Registry. Drag the Convert Transformation, connect it with the Join Node and configure it to match the second Fusion Registry.
- Drag the Target Component to the Workspace and select the desired target from the list. Remember to configure the Target Node.
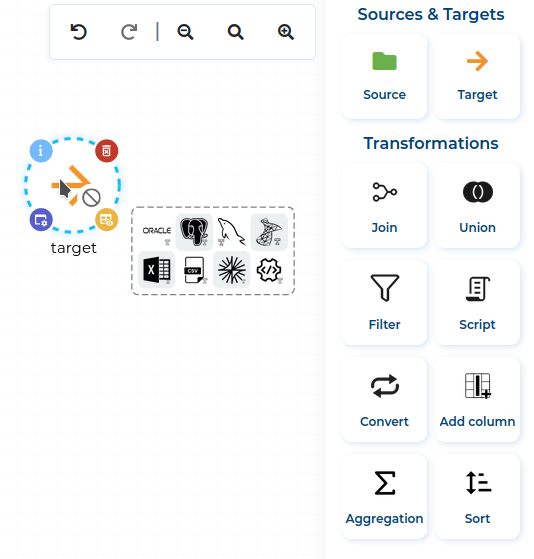
- After configuring the Target Component, connect the Convert Node with it.

- Validate the finished Workflow by clicking the Validate button.
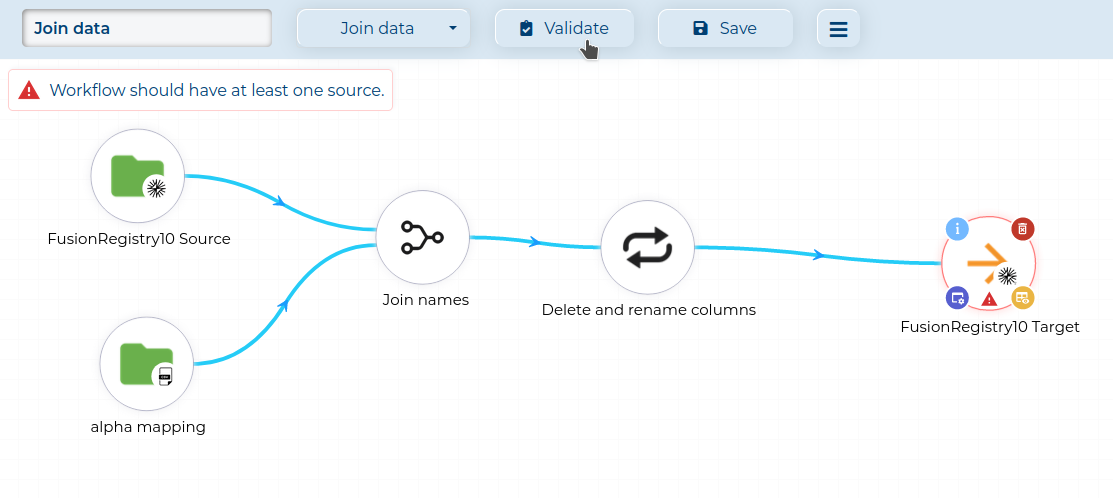
- If there are no validation errors, click the Save button (marked red) and then close the Modeler, by clicking the Exit button (circled red) icon.
