Get Started #
Welcome to this quick step-by-step guide to start working with ETL data_snake!
Installation #
-
Visit the The Official data_snake Docker Page.
-
Create a folder where you will have the
docker-compose.ymlfile.
mkdir data_snake
- Navigate to the folder.
cd data_snake
-
Create a file called
docker-compose.ymlusing your favourite text editor. -
Copy the following example into the
docker-compose.ymlfile
version: "3.5"

services:

    redis:
        image: redis:6.0.5-alpine

    postgres:
        image: postgres:12-alpine
        restart: always
        environment: &pgenv
            POSTGRES_DB: "data_snake"
            POSTGRES_USER: "data_snake"
            POSTGRES_PASSWORD: "data_snake"
        volumes:
            - data_snake_postgresql:/var/lib/postgresql/data

    # Web application for ETL data_snake using gunicorn
    etl-app: &etl-app
        image: mgaltd/data_snake:latest
        restart: always
        depends_on:
            - postgres
            - redis
        volumes:
            - data_snake_media/:/opt/etl/media
            - data_snake_static/:/opt/etl/static
            - data_snake_logs/:/opt/etl/logs/
            - data_snake_files/:/opt/etl/files/
        hostname: example.domain.com
        environment:
            <<: *pgenv
            POSTGRES_HOST: "postgres"
            POSTGRES_PORT: 5432
            REDIS_HOST: "redis"
            REDIS_PORT: 6379
            REDIS_DB: 0
            ETL_SECRET_KEY: "__this__must__be__change__on__production__server__"
            ETL_DEBUG: "False"  #  !!! This must be string

        command: gunicorn

    # Service runs celery
    service-celery: &celery
        <<: *etl-app
        command: celery

    # Service runs processes celery
    service-processes-celery:
        <<: *celery
        command: processes_celery

    # Service runs system monitor celery
    service-system-monitor-celery:
        <<: *celery
        command: system_monitor_celery

    service-beat-celery:
        <<: *celery
        command: beat_celery

    # That service starts only once, does collectstatic, migrate and dies
    etl-set-state:
        <<: *etl-app
        restart: "no"
        depends_on:
            - etl-app
        command: set_state

    etl-nginx:
        image: mgaltd/data_snake_webserver:latest
        depends_on:
            - etl-app
            - etl-set-state
        volumes:
            - data_snake_media/:/opt/etl/media
            - data_snake_static/:/opt/etl/static
            # - data_snake_ssl/certificate.pem:/opdata_snake/ssl/certificate.pem
            # - data_snake_ssl/key.pem:/opt/etl/ssl/key.pem
        ports:
            - 80:80
            - 443:443

volumes:
    data_snake_media:
    data_snake_static:
    data_snake_logs:
    data_snake_files:
    data_snake_ssl:
    data_snake_postgresql:
-
Save the file.
-
Run the following command to start ETL data_snake. If you do not want to see the application output, add
-dat the end of the command.
docker-compose up
-
If there are no errors, then ETL data_snake is running. Visit https://127.0.0.1 to start working.
-
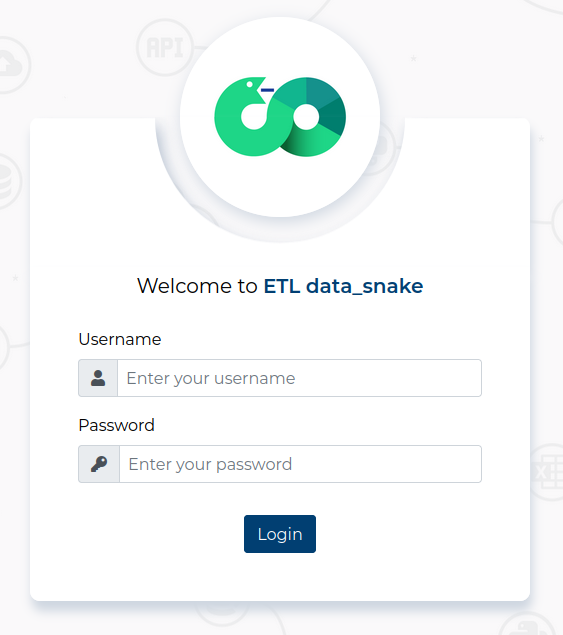
When you open ETL data_snake, you will be greeted by the login screen. Simply log in using the default credentials:
- Username:
admin- Password:
admin
- To work with the application, you need a valid License Key. On the Home Page click the Settings button.

- In the License keys tab, click the + Add a license key button.

- Enter your acquired License Key.

To further customize ETL data_snake, visit the Configuration Section
Prepare Predefined Sources and Targets #
Before creating a modifier, you should create a Predefined Source and Target.
Only a User with thepredef_target_managementandpredef_source_managementor theadministrationpermission can create Predefined Sources and Targets.
In this quick guide we will migrate data from an Excel file, filter that data and convert it into a single CSV file. You can access the file here.
- Click the Data Sources button from the menu on the left.

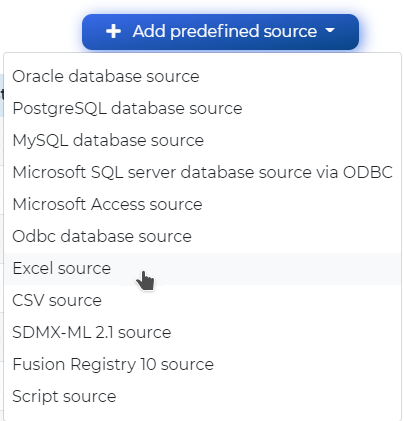
- Add a new Excel source by clicking the + Add predefined source button and selecting Excel source
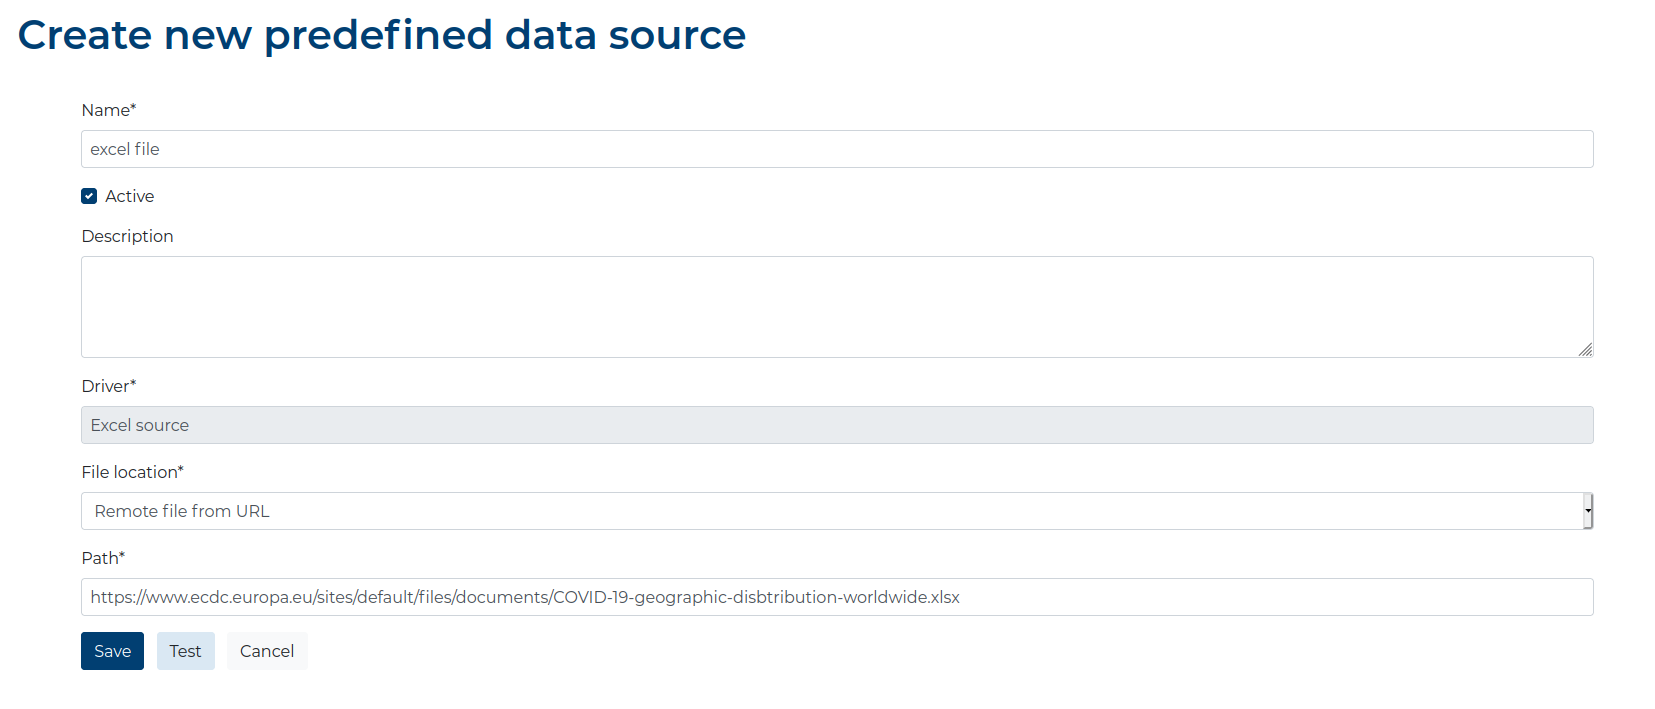
- In the Create new predefined data source section:
- fill out the preferred name of the source,
- provide the URL for the Excel file (
https://www.ecdc.europa.eu/sites/default/files/documents/COVID-19-geographic-disbtribution-worldwide.xlsx), - select
Remote file from URLin the File location field and click Save.
- Next, click the Data Targets button from the menu on the left.

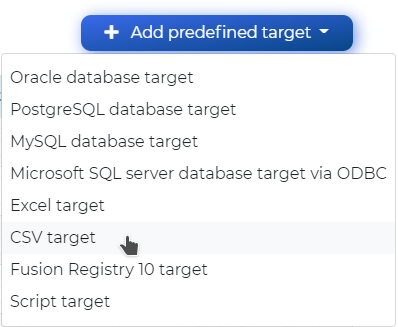
- Add a new CSV Target by clicking the + Add predefined target button and selecting CSV target.
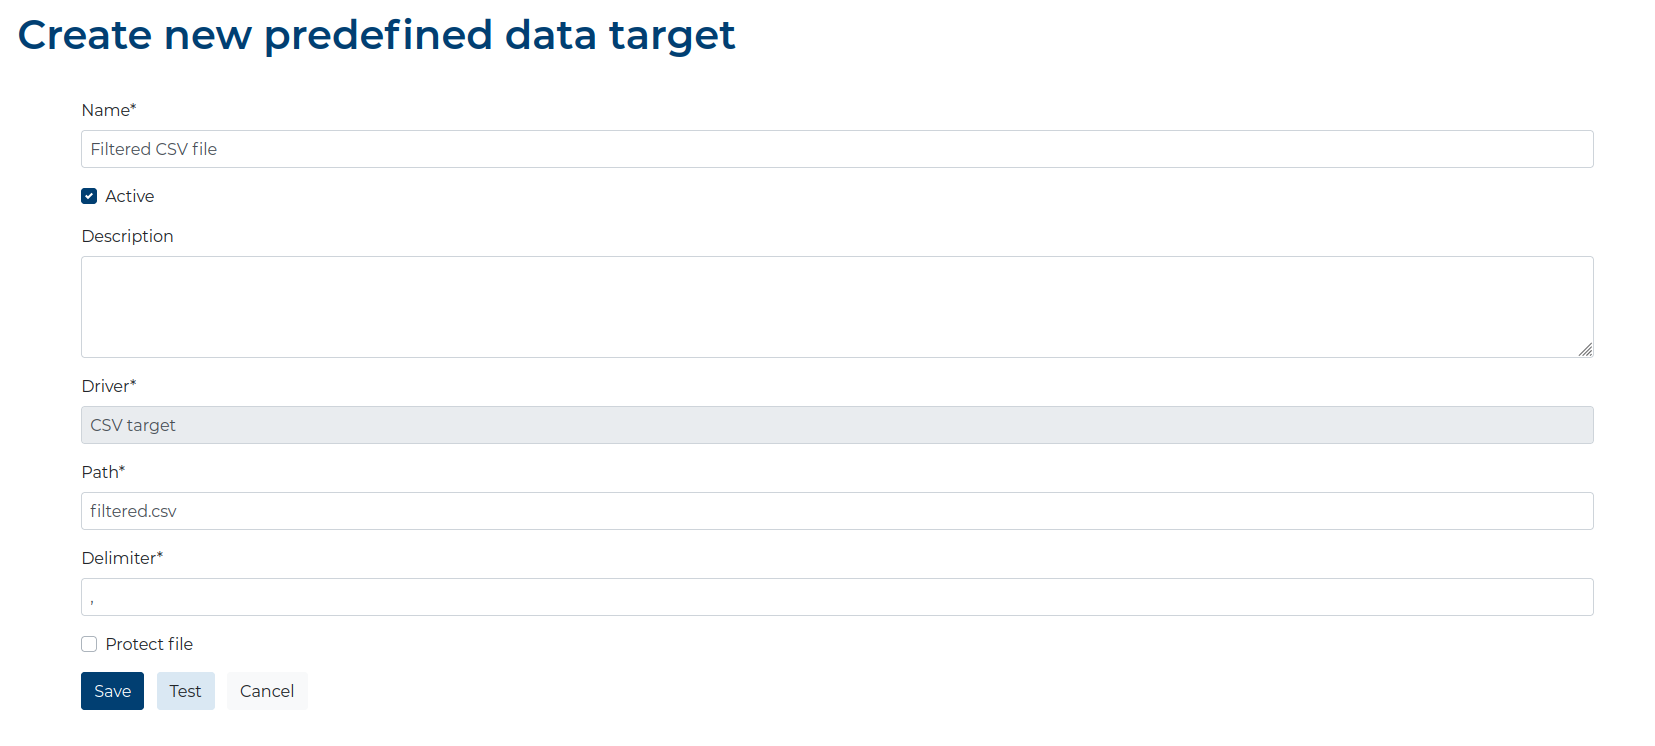
- In the Create new predefined data target section:
- fill out the preferred name of the target,
- provide the path to the file (this is the path inside the Docker container),
- click Save.
Creating a Process and Workflow #
Now you are ready to create a new ETL Process
- Click the Processes button from the menu on the left.

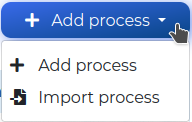
- Click the + Add process button.
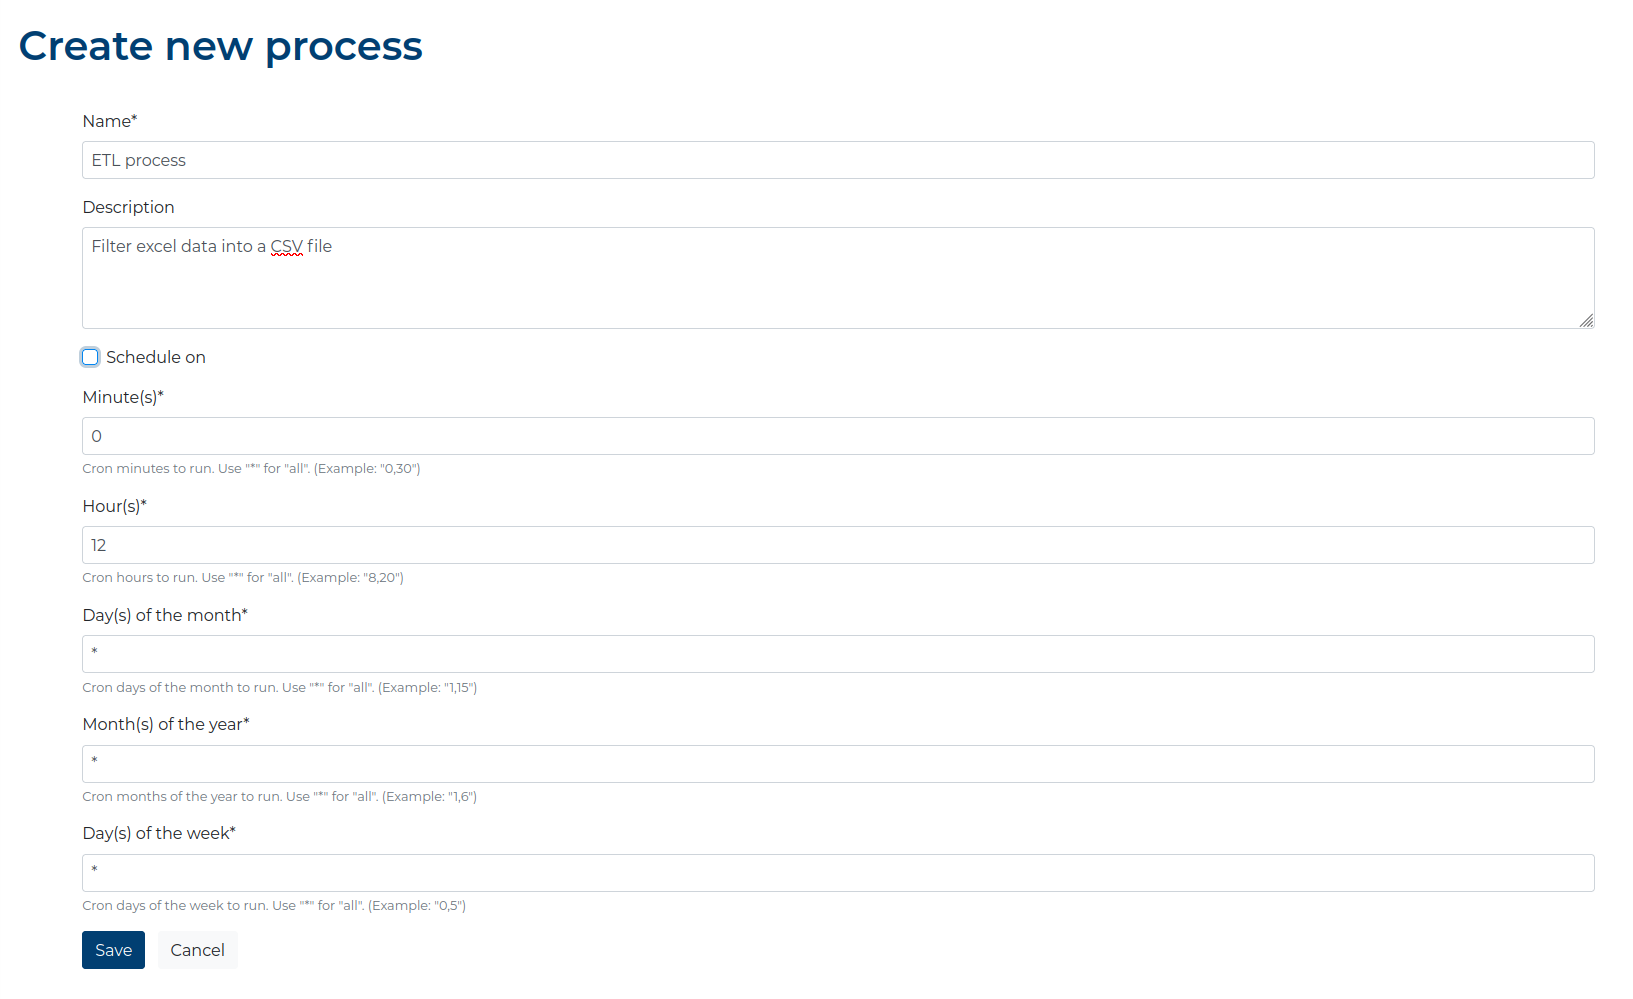
- In the Create new process section:
- fill out the preferred name of the source,
- provide a description for the process (optional)
- uncheck the Schedule on option as we do not want to run this process regularly.
- leave the rest of the fields unchanged and click Save.
- Click the name of your new Process.

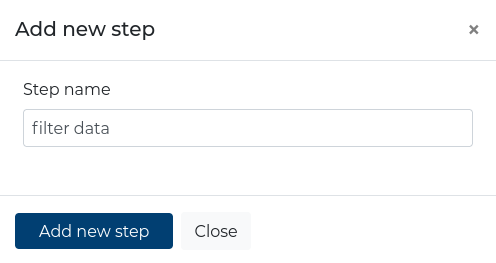
- Click the Add new step button to add a new Step to the Execution Plan.

- Provide a name for your Step.
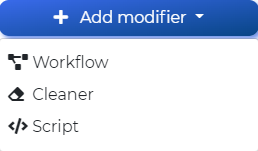
- Click the Add Modifier button and choose Workflow.
- Provide a name for you Modifier and select the Step in which it will be.

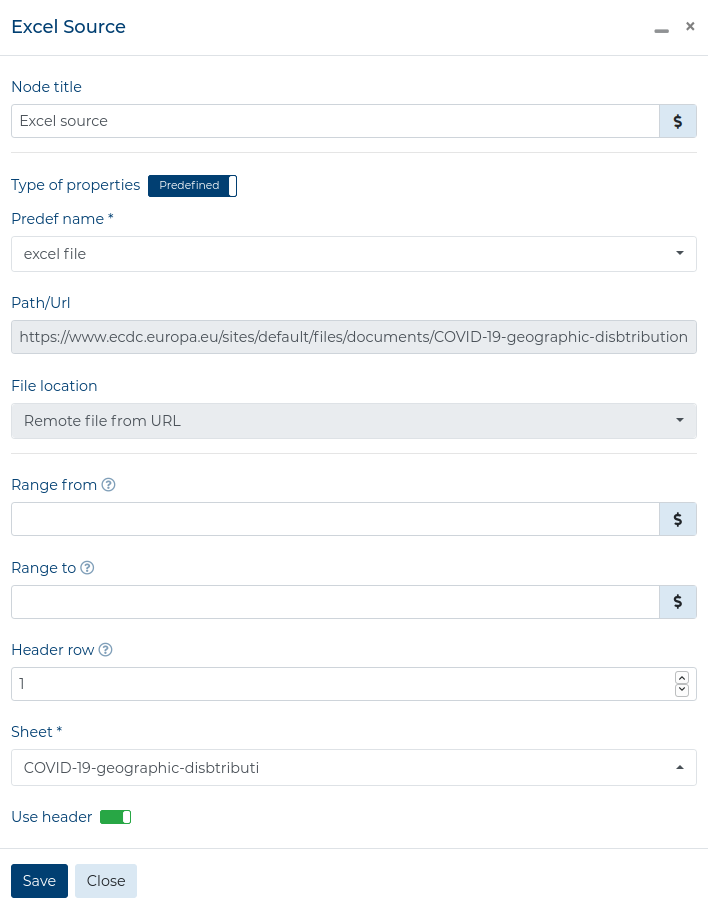
- Drag and drop the Source Component to the Workspace and select the
 icon. Configure the Node as in the screen.
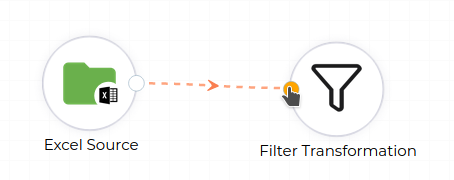
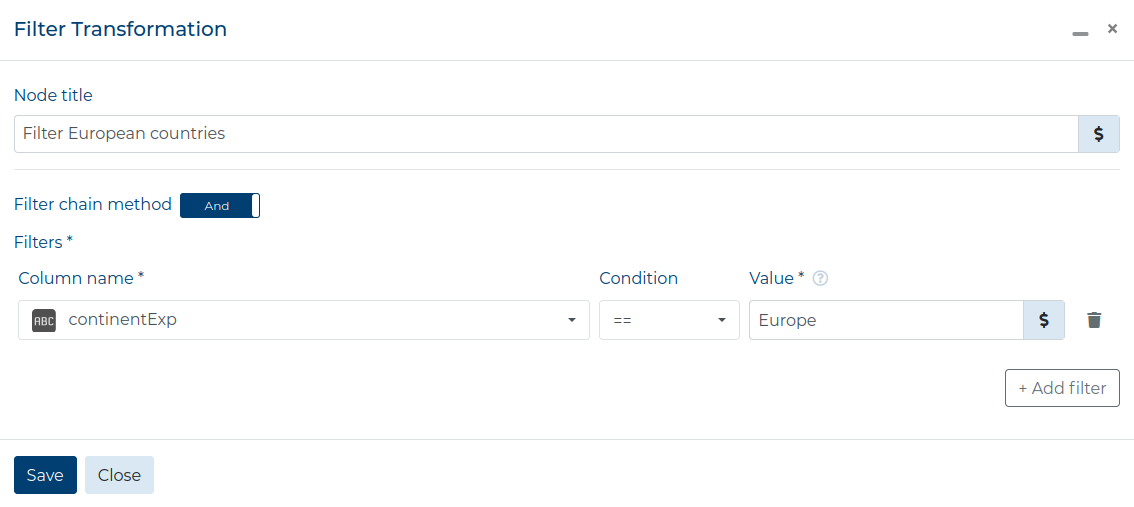
- Drag and drop a Filter Transformation to the Workspace and connect the Source Node to it.
- Double click on the Filter Node and configure it to filter only data from European countries (refer to the screen below).
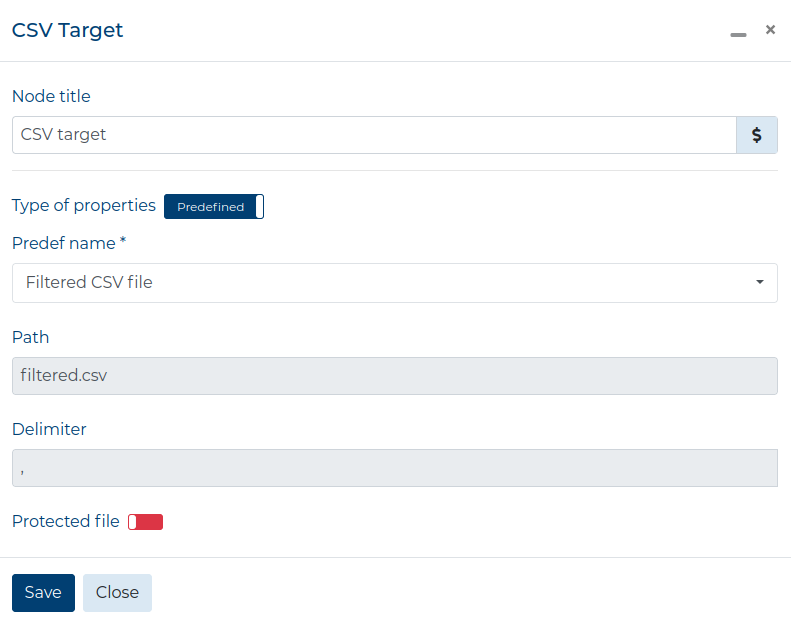
- Drag and drop a Target Component to the Workspace and select the
 icon. Configure the Node as in the screen.
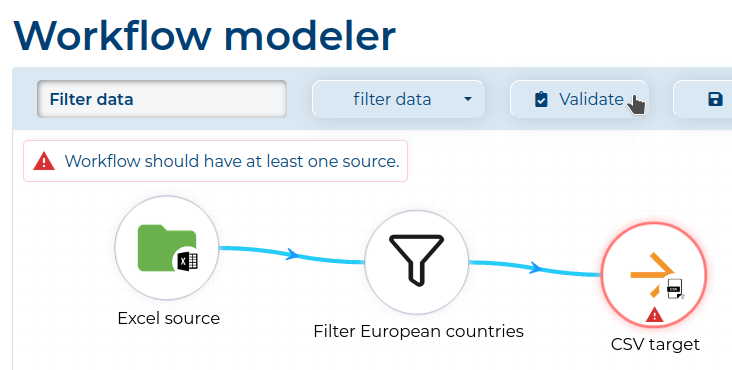
- Connect the Filter Node to the Target Node.

- Validate the Modifier to check if there are no errors by clicking the Validate button.
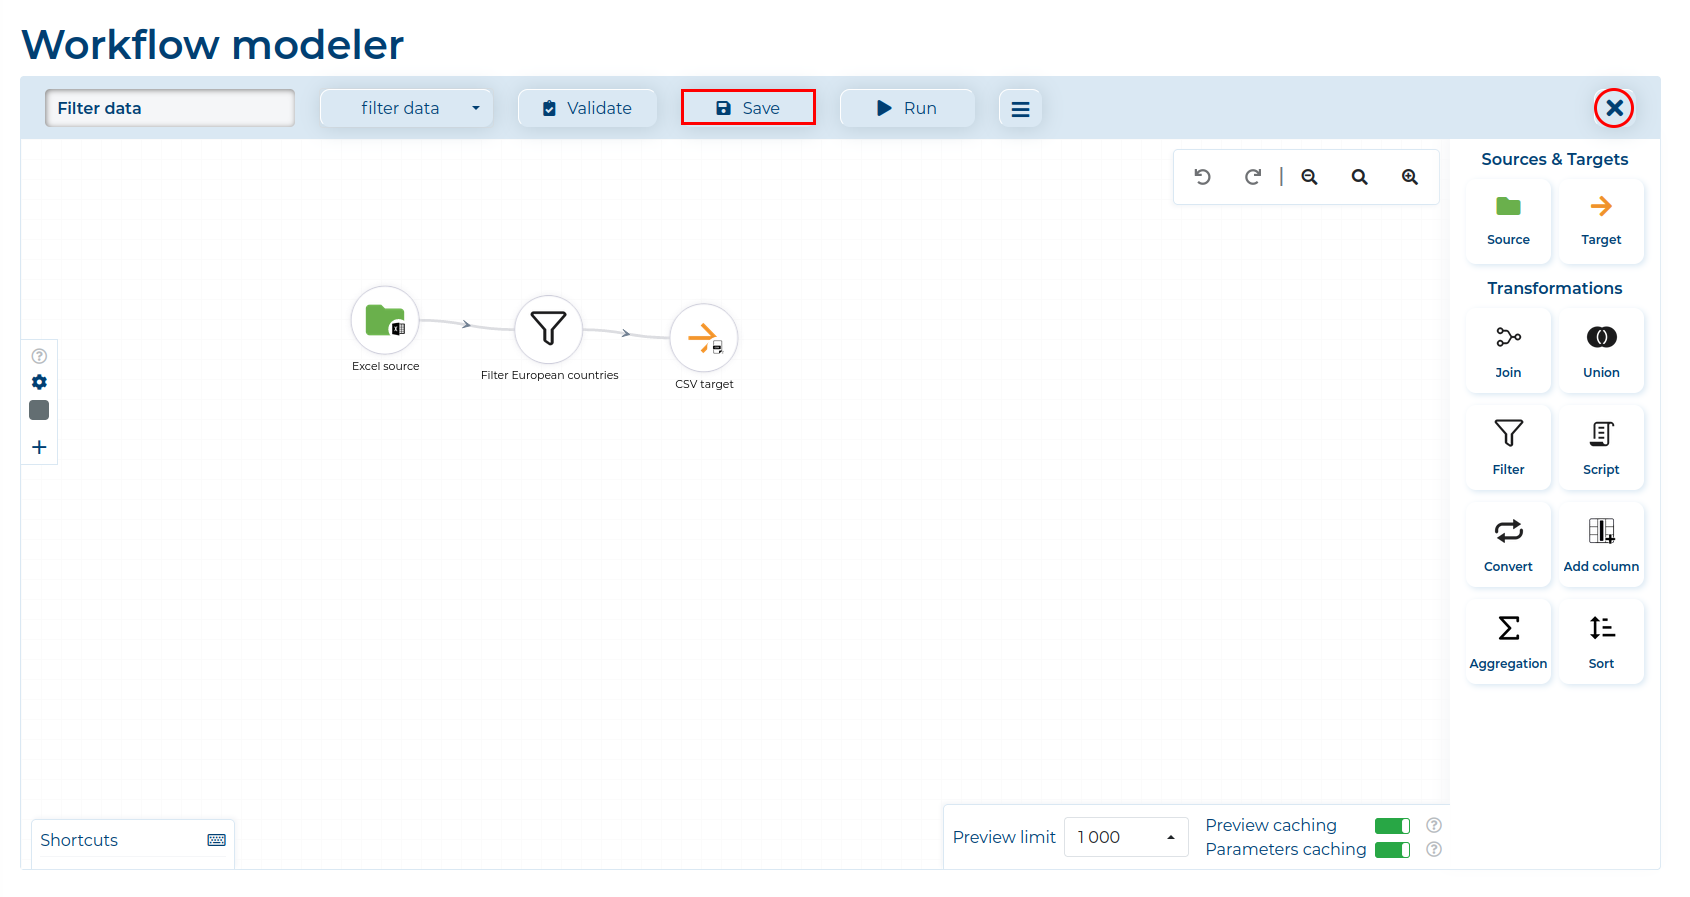
- Click the Save button (marked red) and go back to the Process by clicking the Exit button (circled red).
For basic information about all the components, visit the Basics: Components section.
For more guides, visit the Guides section.
Running a Process #
After saving the Modifier, the Run Process button on the Process Details view should be active. Click it to run your Process.

The Process will execute. You can monitor the status by reading the log feed (if you started
ETL data_snake without the -d option, check the terminal where you run the
docker-compose up command) by searching the service-processes-celery_1 tag.
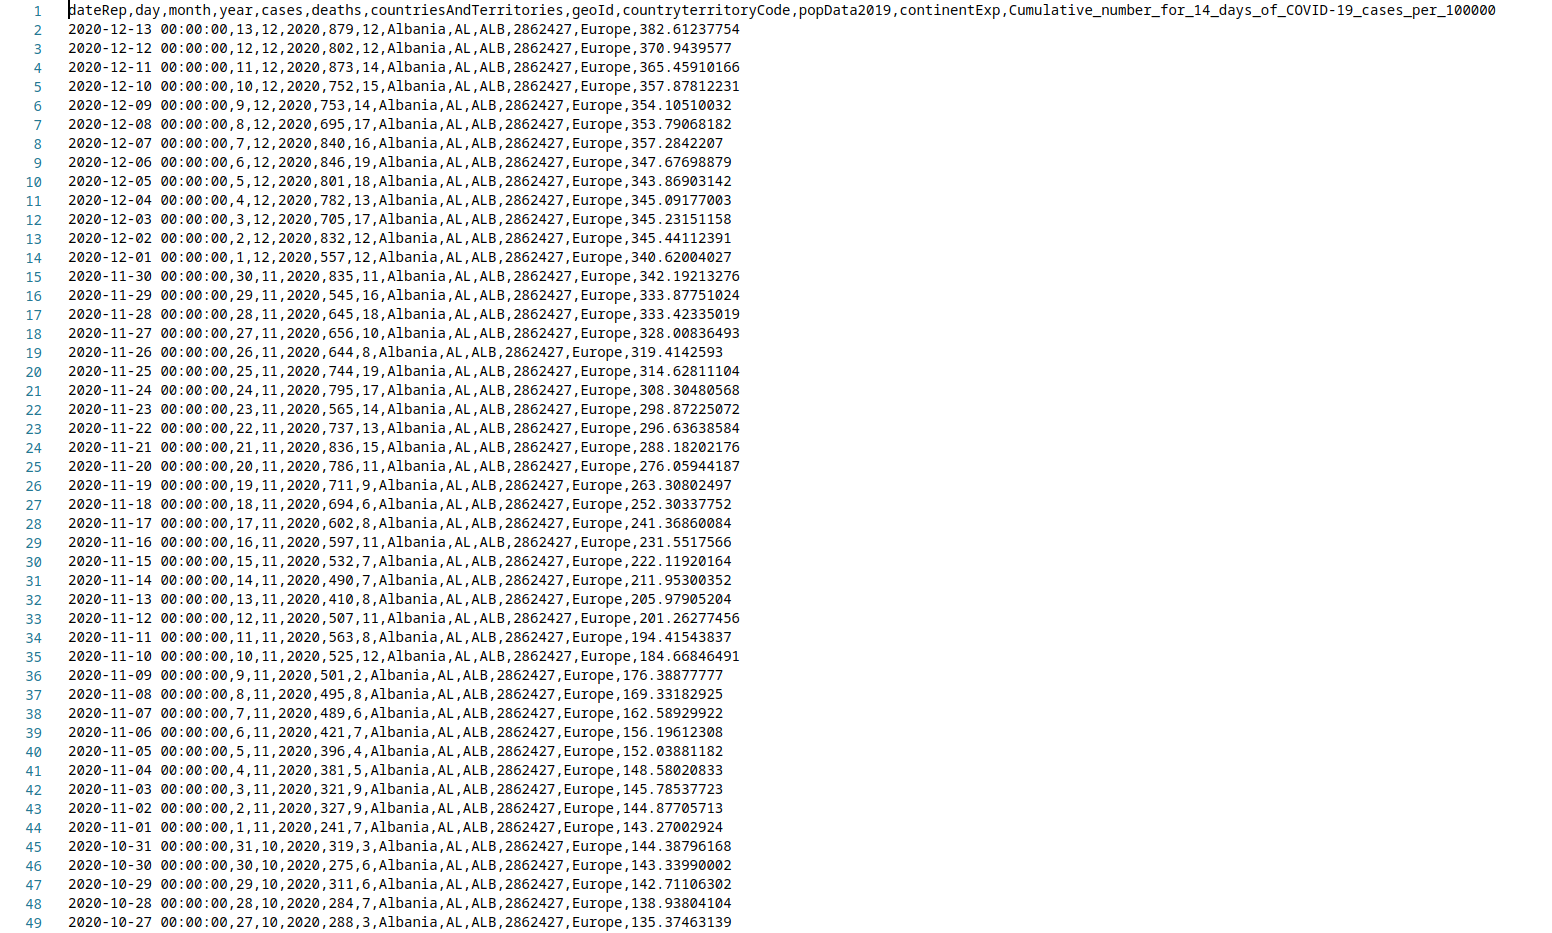
After the Process finishes, check your CSV file to see your migrated data (data might differ from the screen below).
