Resources #
When you Extract or Load data from/to files (CSV, Excel, SDMX-ML), those files
are not kept on your local machine, but inside the docker container running the application.
To access those files, navigate to the Resources section by clicking the Resources button
in the ETL data_snake main menu on the left side of the screen.

To access the Resources section, the User must have one of the three permissions:predef_source_management,predef_target_management, oradministration.
All files used in predefined components must start with the RESOURCES_PATH directory.
Resources List #
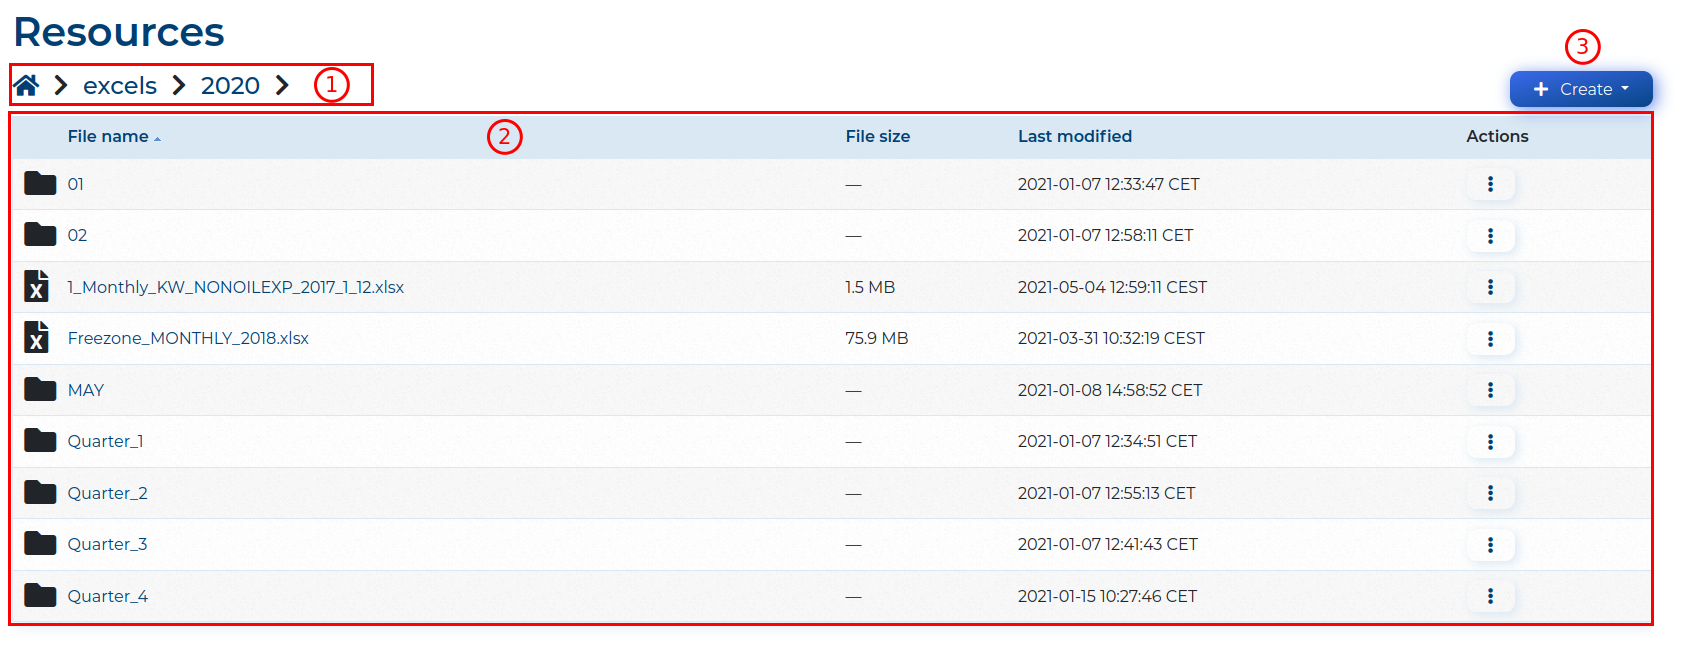
In the Resources section you can see:
- the current directory you are browsing,
- a list of files, where each element consists of:
- the
File Name, - the
File Size(not available for directories), - the
Last modifieddate - indicates the last time the file has been modified by ETL data_snake, - additional
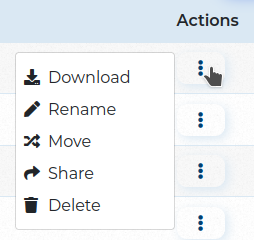
Actions: - download the file/directory as a zip file,
 - edit the file’s/directory’s name,
 - move the file/directory to a different directory,
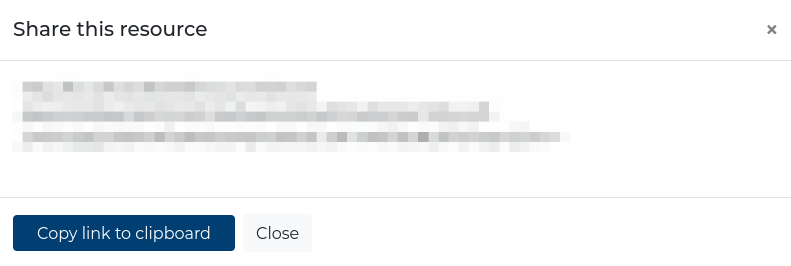
 - open a popup with a link to the file to share with
anyone (no login needed),
 - delete the file/directory.
- the
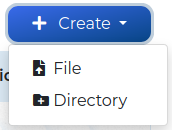
- the + Create button, where you can upload a new File or create a new Directory.
Create Directories #
When you want to create a new directory, select Directory from the + Create dropdown menu. You will be navigated to the Create directory form, where you need to provide the name for the directory. When you click the Save button, a new directory will be created in the directory you were last in on the Resources list.

Create Files #
When you want to create a new file, select File from the + Create dropdown menu. A new window will open, where you must choose a specific folder in the Resources directory (1) and choose a file to load there by clicking the Browse button (2).
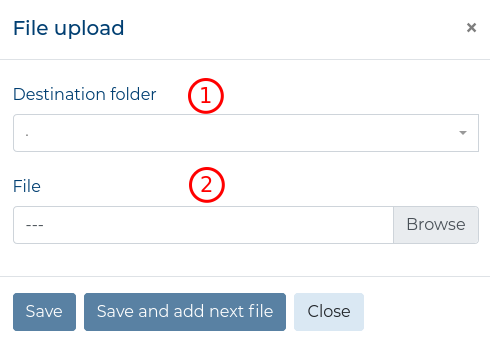
This will open a file upload popup where you must choose one file from your local files.
When you choose a file, the upload process will start. You can cancel the process by clicking
the ![]() icon.
icon.
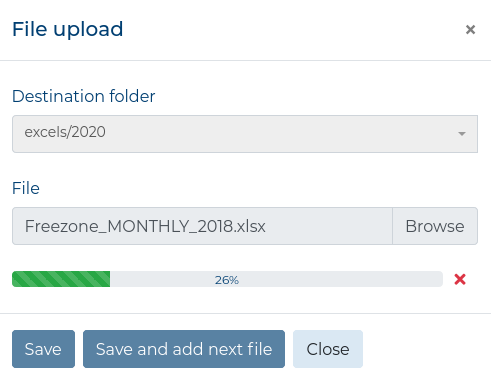
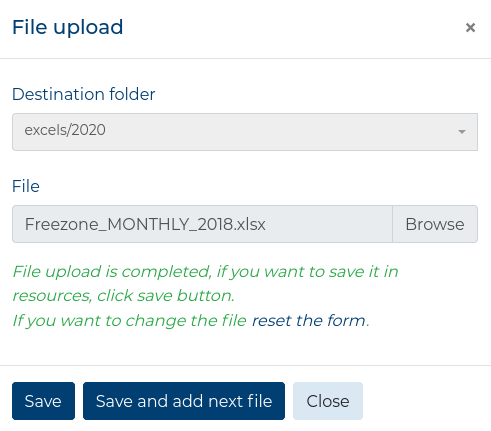
Upon completion, you will see a message informing you that you can Save the file
or reset the form to cancel the upload and choose another file. You can click the
Save and add next file button to save the file and reset the form to upload
another file. Clicking the Save button will close the modal. Clicking any
of the SAVE buttons will fill the Path field with the newly uploaded file.
You can also create files while creating new predefined file sources or adhoc file sources in the Modeler by clicking thebutton. The whole process is described here.